There is always something to do in it Starsand Islandwhether you live your life as an ordinary farmer or long for the adventure that will find you. With a little help, you can maximize your new professions and uncover all sorts of resources that abound in your new home. However, some of these materials are prohibited at the beginning of the game.
One thing you will need as you progress are the keys to open the massive doors in the Moonlit Forest. We'll help you find these keys so you can progress deeper into the ruins and fully explore the Moonlit Forest.
How to get the correct key to the ruins

When you're ready to embark on your next great adventure, find Zephyria northwest your farm. Talk to him about doing the intermediate certification process where he will give you the key to the ruins.

Starsand Island: The Complete Cooking Guide
Cooking up a storm on Starsand Island
Despite a minor mistranslation, yes have the Ruins key added (right). to your inventory. This is it one of two keys you will need to open the massive gate near Mural Valley.
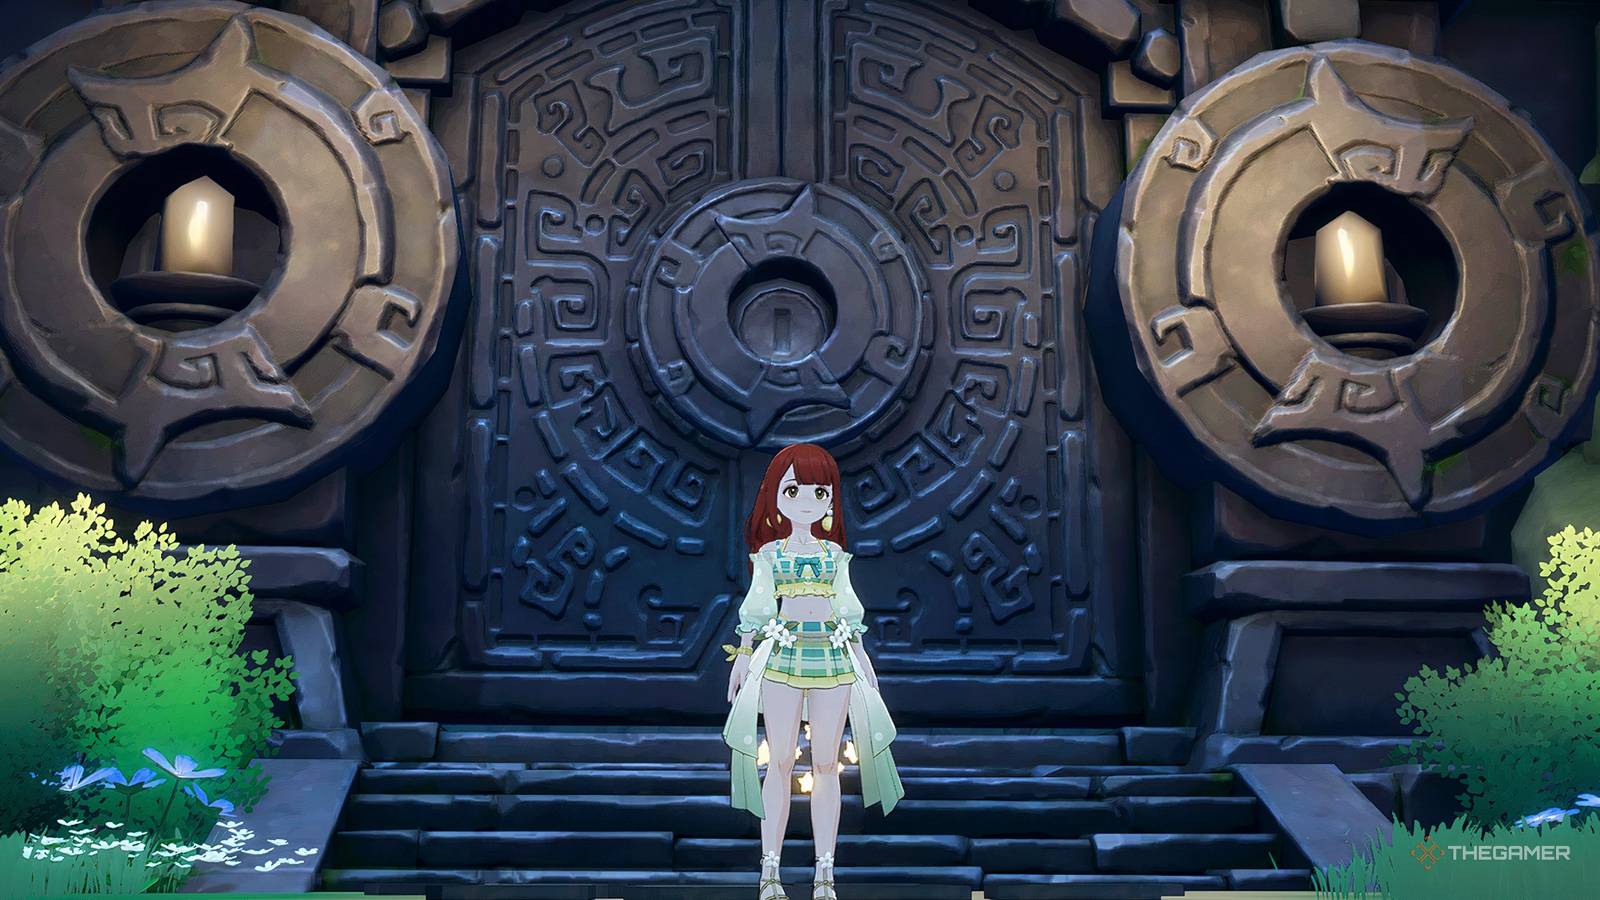
How to get the Left Ruins key

The second key is more difficult to obtain. If you explore the forest more than you interact with NPCs, it is possible to find this key first. Head to the elevator i.e. in front of Azure Bay take it off to a lower level.
Open the round wooden chest get an assortment of materials here, but most importantly – Ruins Key (left)! With both keys in your inventory you can head to the massive door to the east and open it. Much like in Crystalline Hideout, you will have to take on a massive new enemy. However, this one is more complicated.
How to beat the Glintortle boss

The Glintortle Boss will be your first real challenge. As an armored enemy, you will find out this creature is incredibly tough and normal ammo won't do much damage. Instead, you'll want to upgrade your sling to a bow and bring arrows instead of pellets.
Bomb Arrows will be your best friend here, but they can be expensive to produce. Bring a a mix of bomb and standard arrows help drain Glintortl's health. has several AoE attacks it will hurt you so be sure bring plenty of HP restorative food and keep it in your hotbar for easy access.
The Glintortl's weakness is the glowing crystal on his back, but it is not always visible. You will have to wait for Glintortle to reveal his weakness after he completes a spin seizure or becomes dizzy. It's time to strike! Otherwise, keep your distance and watch the ground for water-based attacks that Glintortle will summon to knock you down.
If you're trying to win a fight, you can deploy patrol robots to drag Glintortle away from you.
Once Glintortle is defeated, you can collect your rewards from the chest that appears and go to the next landing. Of course, this passage is blocked by a bramble that can only be destroyed by Fire Arrows. For now, return to the previous camp and return home.

Starsand Island: All treasure chest locations
Uncover a rare treasure on Starsand Island
