Final Fantasy 14Patch 7.1 is the first major content update since the release of the Dawntrail expansion. As is tradition with the game's update cycle, the odd-numbered patches introduce new 24-player Alliance Raids towards the end of the game, allowing players to challenge a series of bosses to gain powerful gear. While the raids may seem intimidating, the difficulty of Alliance Raids is designed so that players of all skill levels will be able to clear the raids on their first try, making them an excellent option for easy late-game gear.

Related
Final Fantasy 14 players not happy with Patch 7.1 feature
Final Fantasy 14 players have been sharing their complaints about the upcoming 7.1 Crossroads update, prompting Square Enix to respond.
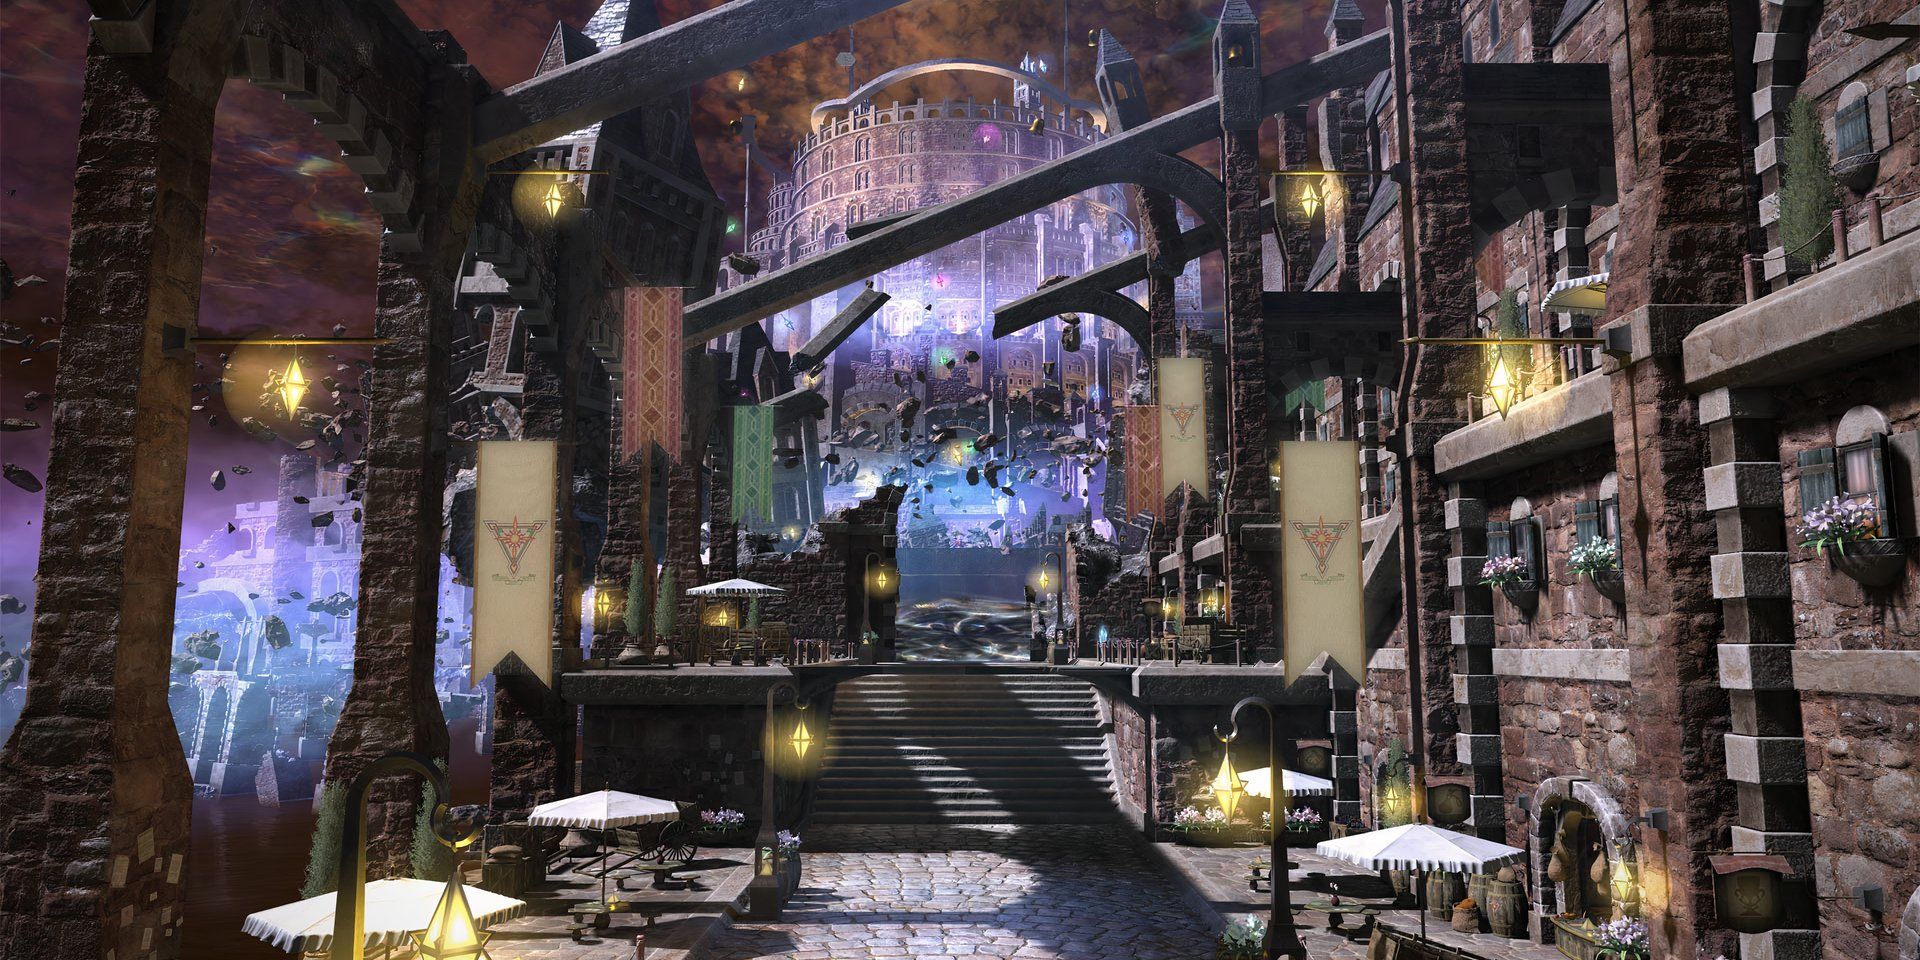
Jeuno: First walk is the first level 100 Alliance Raid released and is part of the Echoes of Vana'diel series, which references the game's predecessor, Final Fantasy 11. Featuring a wide variety of enemies, locations and items from the classic MMORPG, Jeuno faithfully recreates iconic scenes from the original game. Players who can successfully defeat the boss of this raid will have the opportunity to obtain the Ark Angel armor, some of the most powerful gear currently available in the game.
How to unlock Jeuno: The First Walk Raid in FF14

The Jeuno Alliance Raid can be unlocked after completing the Level 100 main scenario quest “Dawntrail” and talk to Hoobigo Messenger in Tuliyollal (X:13.0, Y:11.6) to start the “Anotherworldly Encounter” quest. This will take the player to Yak T'el, where players will assist an Elvaan adventurer with missing memories before being quickly introduced to the raid's first boss, Prish, and unlocking the raid.
Prishe Of The Distant Chains – Raid Boss Overview

Prishe of distant chainsThe primary gimmick is the charging mechanic first introduced in The Sil'Dihn Subterrane. Attacks like Knee sandwich and Aurora Borealis it will display not one but three telegraphs, each larger or longer than the last. While casting these abilities, Prishe will shout “Wait for it…” up to three times in a row and attack each time. In order to successfully avoid these attacks, players will need to watch how many times Prishe charges to determine correct standing position. These attacks can later be combined with additional area of effect (AoE) attacks that must be avoided at the same time as Prishe's attacks, requiring players to multitask. Prishe's main attacks include:
|
The name of the attack |
Explanation |
|---|---|
|
Knee sandwich |
He targets a spot on the ground to strike by placing three concentric circles on the ground. The size of this attack is determined by the number of times Prishe said:Wait for it…When Prishe hits the ground, the previously safe areas of the arena explode shortly afterwards. |
|
Canceling Dropkick |
A powerful tank destroying attack that splits the damage between the three targets hit. Tanks should be able to handle it with defensive capabilities such as Rampart. |
|
Chase out the storm |
He places three sticks on the ground with the arrows pointing away from them. After a short time, the rods will fire a medium AoE that will start cascading in the direction of the arrows. |
|
Crystalline Thorns |
Marks large parts of the arena red and creates deadly spikes on the ground after casting is complete. This ability always precedes the next attack, Auroral Uppercut. |
|
Aurora Borealis |
It knocks all players up and away from the center of the arena, with three curved lines extending from the player, indicating the potential launch trajectories that will occur. Prishe will shout “Wait for it…” up to three times while charging and indicate which trajectory will be chosen. |
|
Banishga IV |
Numerous orbs cover the arena. The orbs begin to swell in sequence and explode va medium sized AoE shortly after. |

Related
An argument for Final Fantasy 17 to bring back one forgotten job
Final Fantasy 17 could rediscover a forgotten role, marrying tradition with modern gameplay by reintroducing a work that has fascinated fans for decades.
Fafnir The Forgotten – Raid Boss Overview

Fafnir Forgotten he uses various attacks that charge up specific parts of his body, requiring players to pay attention to the dragon itself to determine which parts of the arena to stand on safely. In addition, Fafnir will regularly cast Hurricane Wingtransforming the fight into an intense dance avoid spinning wind attacksand summoning Darter's minions to further complicate the fight. Fafnir's most notable attacks are:
|
The name of the attack |
Explanation |
|---|---|
|
Offensive posture |
Fafnir prepares to attack charges either head, legs, or tailchoosing a different attack based on which part of the body is charged. |
|
Head full: Fafnir will breathe fire along the edge of the arena in a clockwise direction starting from where he is facing, leaving a persistent trail of fire behind him. Ignited soil will extinguish itself after a short time in the same order in which it was ignited. This attack will a tail-charged offensive stance always follows. |
|
|
Legs loaded: Fafnir slams the ground, dealing va damage large AoE around each other. When a head-charged attack position comes up, players must remember which side of the arena goes out first in order to escape the strike in time. |
|
|
Tail loaded: Fafnir runs across the arena behind him 270 degree coneand leaving only the space directly in front of him safe. |
|
|
Baleful Breath |
A high damage attack that distributes damage to all targets hit. Hits multiple times in a row. |
|
Hurricane Wing |
Fafnir deals unavoidable damage to all players before landing on the edge of the arena shortly after. Numerous wind AoEs will begin to rotate around the arena, including a large ring that will either shrink from the outside in or grow from the inside out. |
|
The winged terror |
Fafnir's the wings begin to glow purplethey strike left and right apart after a short time. |
|
Absolute terror |
Fafnir's the body begins to glow purpleshooting a laser straight ahead after a short time. |
The Ark Angels – Raid Boss Overview

Ark Angels includes five bosses that players will have to fight at once, each with their own distinct set of attacks and abilities. While each individual attack can be fairly easily avoided, keeping track of all five Ark Angels presents a unique challenge, and attacks can often be combined with each other to deadly effect. The main attacks in this fight include:
|
The name of the attack |
Explanation |
|---|---|
|
The decisive battle |
Ark Angel attaches to the player and uses an Epic hero effect after casting is complete. Players will only be able to damage the Angel of the Ark with the corresponding effect while it is active. |
|
Meikyo Shisui |
Various AoE patterns that appear in rapid succession, including a checkerboard of ice attacks, a glowing orb that players must stand in front of, a two-part flower attack that first explodes in a large AoE and then creates a small circular safespot that players must stand in front of. inside and a large crystal that shoots six cones of lightning around it. |
|
Meteor |
Ark Angel TT begins a long cast which must be interrupted so as not to damage the entire raid. |
|
Guillotine |
Ark Angel TT teleports to one side of the room and after a short time cuts through the arena in front of him several times in a row. |
|
Utsusemi |
Arch Angel HM will create four clones which attaches itself to the player before chasing them after a short time. |
|
Mijin Gakure |
Ark Angel HM starts casting Mijin Gakure while Ark Angel EV creates an Ark Shield to protect them. Players must defeat Ark Shield and interrupt Mijin Gakure cast before finishing to avoid lethal damage. |
|
Rampage |
Ark Angel MR runs around the arena dealing va damage linear AoE three times in rapid succession before slamming the ground in a large AoE. |

Related
The 10 Best MMOs Playable on PS5, Ranked
Players have some great options to choose from when it comes to MMOs on the PS5.
Shadow Lord – Raid Boss Overview

The final boss of the alliance raid, Lord of Shadowsuses strength and magic to attack players with a wide variety of heavy blows. Switching between two phases and summoning clones to complement his attacks, players will need to pay close attention to both the boss and his surroundings in order to successfully handle the Shadow Lord's deadly attacks, including the following:
|
The name of the attack |
Explanation |
|---|---|
|
Giga Slash |
Sweeping swords appear around the Shadow Lord during the spell's duration, telegraphing with two sword cuts which will take place in quick succession when completed. The swords will always pass to the left or right of him and then strike in the opposite direction. |
|
Giga Slash: Nightfall |
Similar to Giga Slash, but represents the third swing of the sword which strikes either from the front or from behind the Shadow Lord. |
|
Umbra Smash |
Shadow Lord smashes the ground in a straight line. The AoE created begins to cascade out of itself, spreading to the left and right of the originally affected area. |
|
Implosion |
The Shadow Lord raises two orbs in his hands, which explode after a short time. Before the casting ends, one orb will grow larger and instead hit the entire half of the arena it is in. |
|
Chthonic Fury |
Shadow Lord transforms the arena, deals damage to the entire raid and switching between two phases of combat. |
|
A dark nebula |
Line telegraphs appear on the floor, reflecting the player in indicated directions. Multiple telegraphs can appear in succession, requiring players to remember the order in which they appear. |
|
Dark omens |
Circular and square telegraphs appear around the arena with spikes appearing either inside or outside, indicating safe or dangerous areas. If the shape is inside the spikes, players must stand outside the shape and vice versa. |
|
Spawn of Shadows |
Shadow Lord creates clones of themselves which will cast either Giga Slash or Implosion, independent of Shadow Lord himself. |
|
The Sigil Binding |
Three sets of circular sigils gradually appear on the ground, which will gradually explode at the end of the cast. In order to successfully dodge, players will need to memorize the location and order of the signs. |
Jeuno Rewards: The First Walk Raid

Bosses within Jeuno each drop item-level pieces 720 Ark Angel Armor Setthe second highest armor level available in patch 7.1. Additionally, defeating the Shadow Lord gives players an Ordelle coins, which can be traded Uuah'shepya in solution nine (X:8.6, Y:13.5) in exchange for items to upgrade the Quetzali armor set from item level 720 to item level 730. Collectible rewards for completing Jeuna include Minion of Nano Lordminiature versions of the Shadow Lord, as well as orchestration rolls for the various music that occurs during the Alliance Raid.


- Released
- August 27, 2013
- ESRB
- T for Teens – Language, Mild Blood, Sexual Themes, Alcohol Use, Violence
- Steam Deck compatibility
- Playable
- Multiplayer
- Online co-op, online multiplayer
- Engine
- Originally a Crystal Tools engine, but currently a custom engine using Luminous Engine parts.
- How long to beat
- 99½ hours
- How Long To Beat (Completionist Runs)
- 3347 hours
- PC release date
- August 27, 2013
- PS5 release date
- May 25, 2021
- Xbox Series X|S release date
- March 21, 2024
