If you are looking for help unlocking the success of 'Dr. Gurgula will return High on Life 2you are in the right place. To get the prize, you need to find three hidden Dr. transmissions in the game. Gurgules, but two of them can't be missed because they are located in main mission locations that you can't return to in the same game. With that in mind, here's how to find all three audio collectibles.

How to get ball gun to high life 2
You will have to dance, fish and drive to get the one lost gun in High on Life 2.
High on Life 2 Dr. Gurgula will return Achievement: All hidden transfer locations

Dr. Gurgula is a returning character whose hideout functions like the original High on lifethe secret place of the end. This parody of Count Dracula reappears in the sequel, but this time has nothing to do with the multiple of possibles High on Life 2 endings.
This time, he left three secret messagestwo of which are unmissable and can be found in two different rewards, the other being available in a secret area in Circuit Arcadia, Downtown.
Transmission One: Save your father from the cult
Your journey to save your father from a cult in Wyoming begins after you complete your first two main rewards: Senator Muppy Doo and billionaire Larry Pinkstock. From there, your other two options are Finance Wiz James Stevenson and Dinner with Mom. Choosing the latter will get you on your way to the western United States.
The first transmission can be found after rescuing your father from the ego chamber and heading back to the main cult building. The area of interest is the room where you fight the Big Mutant miniboss: when he's down and you're prompted to find your father's best friend Ted, don't go out through a broken window.
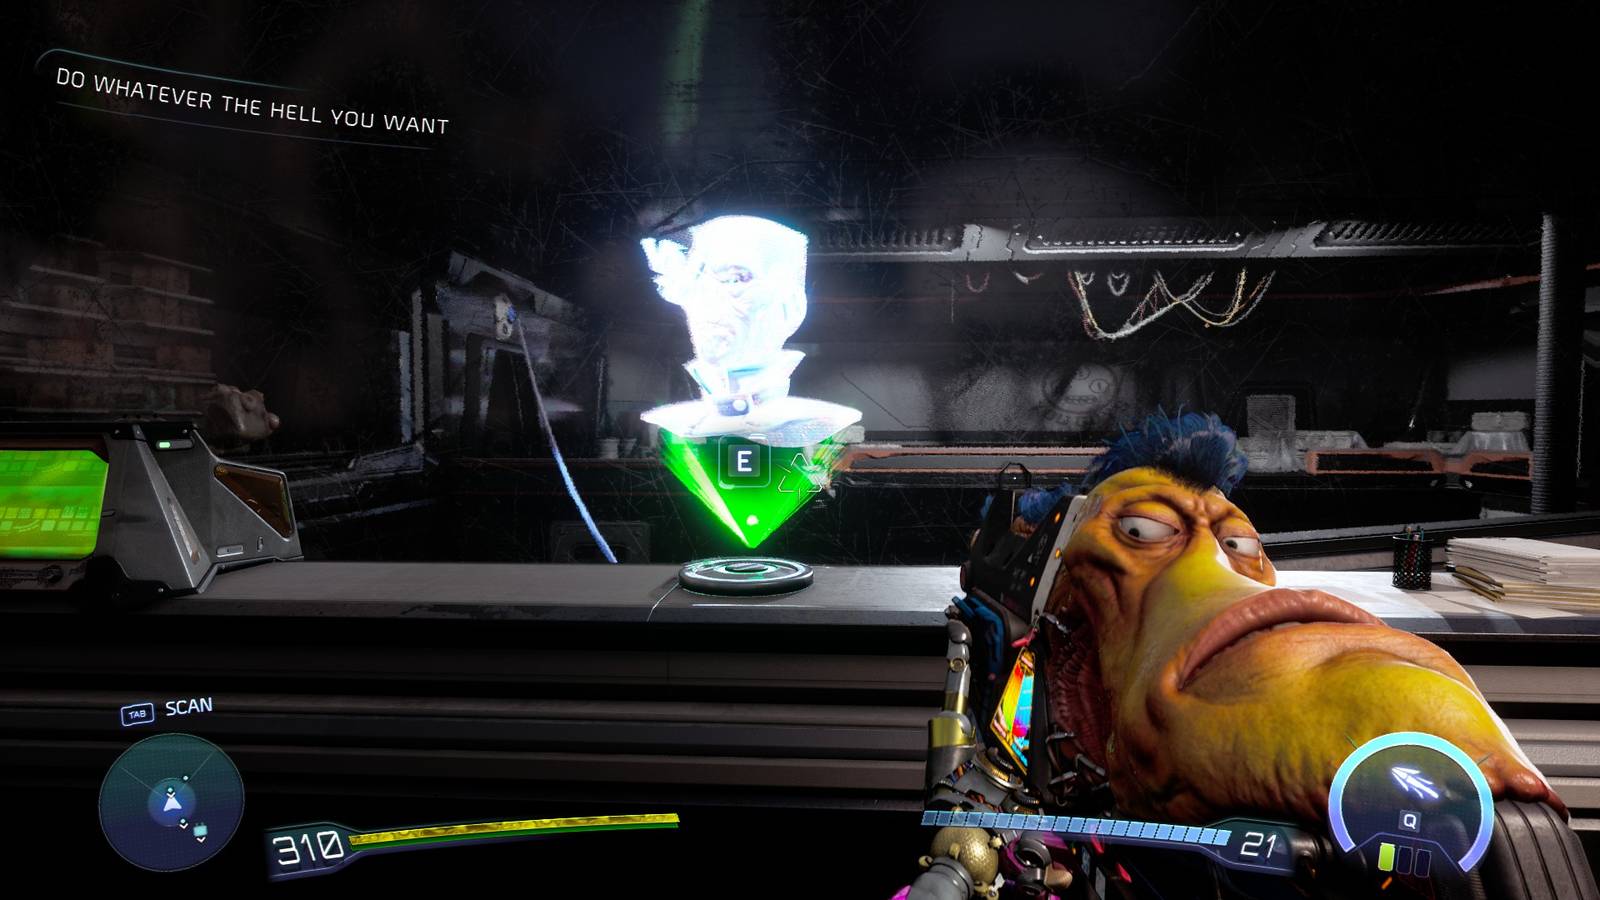
If you are a success hunter, make sure you don't miss the two story broadcasts. You cannot save manually High on Life 2and you can't just reload an earlier save unless you have decent progress in your other two save slots. If you missed them, we recommend switching to the easiest story mode setting in the game to get through it as quickly as possible.
Your destination is located at the back right of the room you fought the mutant in, on the upper level when you are facing the broken window. To get to it, climb the platform in the middle of the room, then turn to the corner of the room to your right and jump and dash to bridge the gap to the hole in the wall. The first transmission is through this hole once you jump down: interact with him and a message will play to start this achievement.
Transmission 2: Kill scientist Professor Berkel

This second missed transmission is available during Professor Jane Berkel's bounty. This is the point where you have a choice between targeting movie star Buckin Bronko and Berkel after saving your father from the cult and defeating billionaire James Stevenson. Once you've explored the far side of Pinkline Harbor to access the next area to the Beach Hub world, you'll be where you need to be for this second secret message.
Before entering the giant blue beast and helping the scientist inside keep your cover, walk past the lead scientist and stop when the monster is on your left – you should see a black and orange wire on the ground heading into the tent on your right. Interact with the generator this wire is connected to and it will change color from partially orange to partially green. Follow him back through the tent entrance to another, which contains a second hidden transmission.
Gear Three: Circuit Arcadia, Downtown
This latest collectible Dr. Gurgula can be found once you unlock Jan and is also available after you complete the main story. Start your quest by heading to the north side of the Downtown Circuit Arcadia map, west of the comedy club.
At the top of the tall metal staircase, look in the left corner where you should see a machine with a green Slime Drive logo, just like you did when you started the other way up to the goal of James Stevenson's shelter. Use Travis' levitating Trick Shot ability starts to lift the machine and then shoot it with Jan's bullets to make it go higher and fully reveal the secret gap behind it.
The puzzle inside is the most complex in the game and consists of three parts. The first part begins as you head down the corridor as you enter and turn right into a larger, more open area. Look down and you'll see an object floating in the middle.
Below that, at the very bottom, is a Luglox – levitate him with Travis' trick shot to shoot him from the lowest level to the second lowest level. Once it's done, place the Luglox on the platform on the yellow floor to complete the first part of the puzzle.
Just like in the first part, you must once again pick Luglox up from where he sits on the lowest level of the room. However, this time you need to raise to the top level of this room, which you can only do in stages. Head around the sunken floor so you're facing the door you entered and then pick up and shoot the Luglox out and onto the white crate next to the orange-stained platform.
Next, you need to use the Travis and Jan Trick Shot combo to lift Luglox onto the orange-stained platform, then use the Glob Shot and Jan's bullets again to make sure the platform is as high as possible. When you do, you can pick up the Luglox and jump to the top level with it. You should leave it on the edge of the platform overlooking the sunken area you picked it up from at the beginning of this second part.
Next, you need Gus. Use his secondary vacuum ability to switch the orange-white box panel on the wall of the sunken space where you first picked up the Luglox. This will reveal an electric point that you can use Sheath's spikes onjust as you did when navigating PoolCon, RailCon, and HumanCon.
Next, connect this electrical point to Luglox and use it as an amplifier – you may need to adjust the position of the Luglox to ensure that there is a clear line of sight between the two desired points. Then there's an amp in the corner of the room on the top level, and another above the door that takes you back to the first area. Combine them with Sheath's spikes to complete this second part of the puzzle.
However, before returning to the first area, you'll enter a connecting room with a green Luglox full of money and another orange one. When you leave this room, you'll find yourself back in the first area, but one level below where you first entered – this is clear when you see the floating platform that appears just as you enter the area to your left.
If you have any trouble shooting or lifting the Luglox into place, you can always return to where you first claimed it to get a new one. Slash the spot with the knife, which will remove the previous one from your game.
Put your Luglox down and use Travis and Jan's trick shots to levitate it onto the platform. Jump onto the platform with the Luglox and turn right until you see another panel where you have to use Gus' vacuum ability again. This reveals another electrical point that needs to be connected with Sheath spikes to the amplifier behind where you were standing when you levitated Luglox onto the floating platform. Another connection point is Luglox and you need to connect it to another amplifier above the first door you opened to complete the first part of the puzzle.
After that, there's another amp above where you first entered the area, on the top level of the room. In contrast, still at the highest level, is a connecting point that opens a door that completes the puzzle. Head inside without missing the Luglox that boosts Jan and Travis' charge speed as you enter on the left side and continue around the corner to discover Gurgul's final message.
Once you find all three, the success of Dr. Gurgula will return in High on Life 2 should ping.
