When using a storybook visual style Cinderia it has a pretty unique look but also requires a lot of fairy tale inspiration in boss fights and then some creative freedom of your own
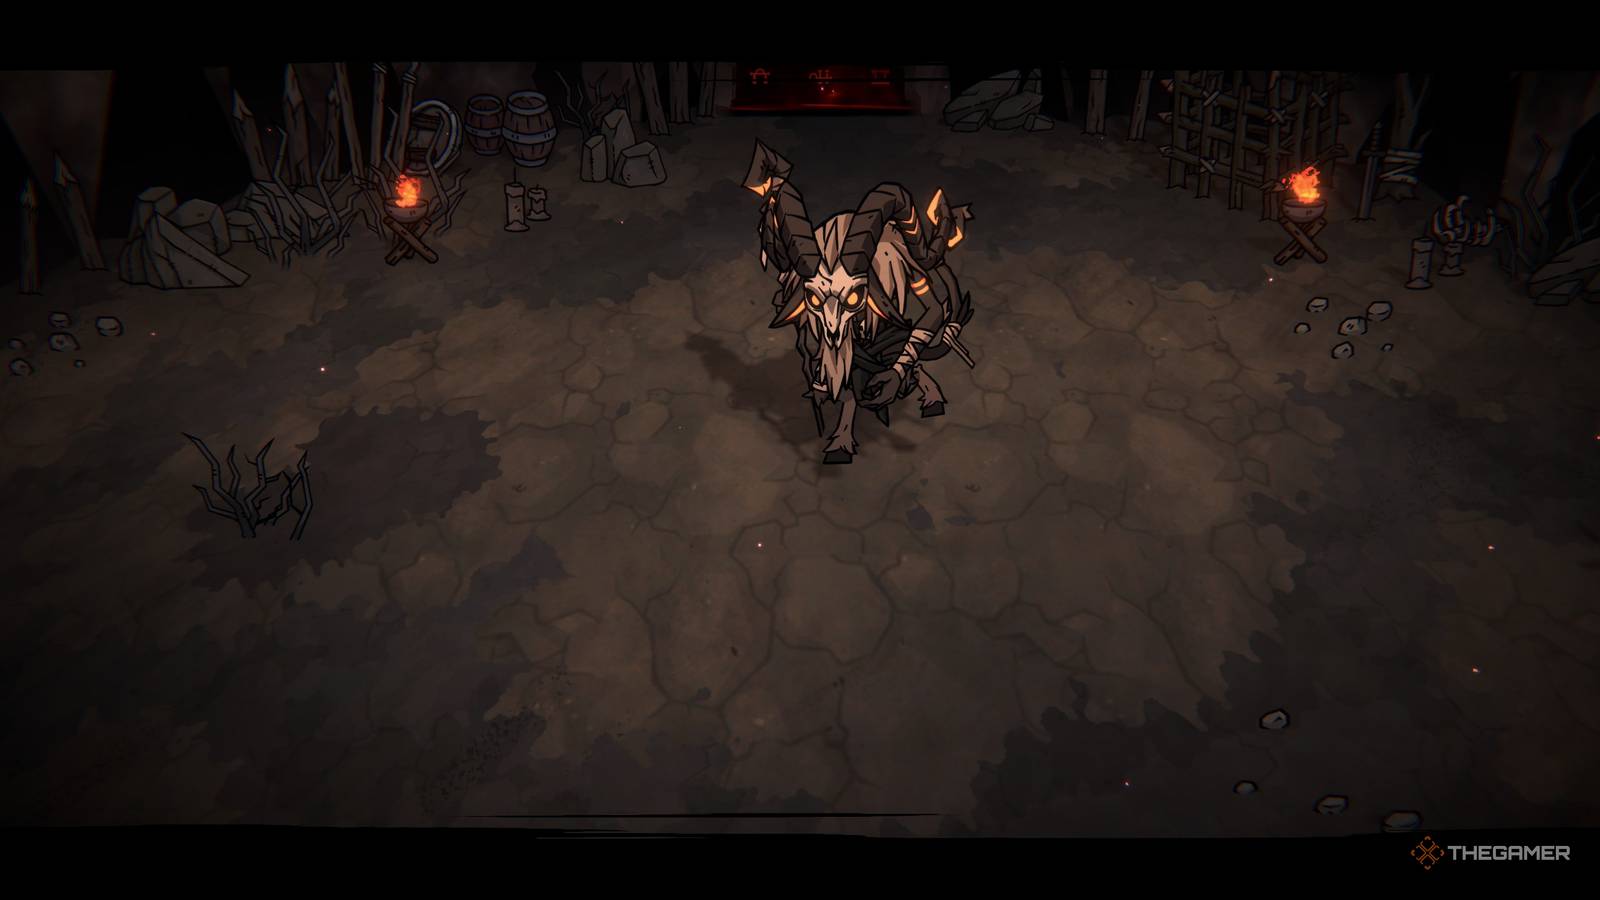
Darkhorn Clan's incredibly verbose High Sacrificier, Kabraks the Soulrend, is a large goat that resembles Baphomet at times and has the strength to back it up.
Where is High Sacrificer Of The Darkhorn Clan fought?

Kabraks the Soulrend is the third boss of the gameand so is found in the third area, the mines. This is after Ashen Adjudicator in City Ruins and Fairy Queen in Lightless Forest.
As usual, make sure you're ready to go in. It is very mobileand has a lot of additional abilities that will require you to rush through the arena and deal high damage quickly.

Cinderia: Ashen Judicator Boss Guide
The first boss of Cinderia will still freak you out.
High Sacrifice The Darkhorn Clan Moveset

High Sacrificer is quite an interesting boss their moveset varies dramatically in different phases. In the first phase, you have an entire arena in the battle and a lot of tactical planning. In the second phase, it approaches a boxing match, which is all about fast movements.
Phase one
In the first phase the boss places totems all over the arena while also stalking you. He is the opposite of the Fairy Queen when you outrun him to chase totems.
Here are all his attacks:
|
Attack |
Description |
|---|---|
|
Chasing Strike |
The boss will actively seek you out and strike with his employees when they catch you. This attack can be held until they reach you, so don't dodge until they actually reach you. |
|
Radial slash |
The boss quickly turns around and hits everyone around their staff. This can be done on its own, but is most often done after performing a Chasing Strike. |
|
Totem Summon |
The boss summons totems all over the arena. These have no effect by themselves, but they do when the boss performs a Totem Burst. These should be destroyed as soon as possible. |
|
Ground Burst |
The boss below you will spawn a red circle that follows you for a few seconds before exploding. Running is enough to escape from it. |
|
Totem Burst |
The boss will trigger a specific totem. It will flash red for a few seconds before exploding and releasing a massive shockwave across the arena. Usually only one totem will explode at a time, though the boss can cause them to explode in rapid succession, making them all difficult to avoid. |
Phase two
In the second phase that is achieved when the boss has approximately 30% HP leftthey massively limit the arena, but also their own moveset.
|
Attack |
Description |
|---|---|
|
Totem Arena |
At the start of the second phase, the boss will summon a series of totems that form an arena in the middle of the room, locking you and him together. There is no way to escape this and it remains until the end of the fight. |
|
Enemy Summons |
The boss will summon a medium enemy to help him in the totem arena. This enemy is weak, but can easily surprise you. They should be defeated, although the boss can respawn them after a delay. |
|
Combined attack |
Boss loses Charging Strike and Radial Slash. Instead, they get a combo string that has a dark rendition of swings and punches, though these only attack in the direction the boss is facing. |
How to defeat High Sacrificer Of The Darkhorn Clan

In the first phase you'll want to spend half the battle destroying boss totemsand the other half is attacking the boss. In general, you should favor totems because Totem Burst is very powerful.
This means that the boss can restore totems very quickly. If you see a totem with full HP glowing red, don't try to destroy it. Prepare to avoid him instead and spend this time attacking the boss.
Chasing Strike is something to watch out for. If you dodge too soon, the boss will catch up and hit you some more. And because of Radial Slash, you'll always want to dodge them rather than into them.
It's easy to get upset when it comes to the second phase, but remember this The boss moveset is also simplified. They can summon an enemy to help them and should be removed immediately.
Backstabs become essential here as the boss moves quite slowlywith a long recovery time after attacks. Investing in accessories that increase critical damage and other Backstab boosting effects is great here.
And when they are defeated, you can move to the next area.

Cinderia: 8 tips for beginners
Become the strongest witch hunter!
