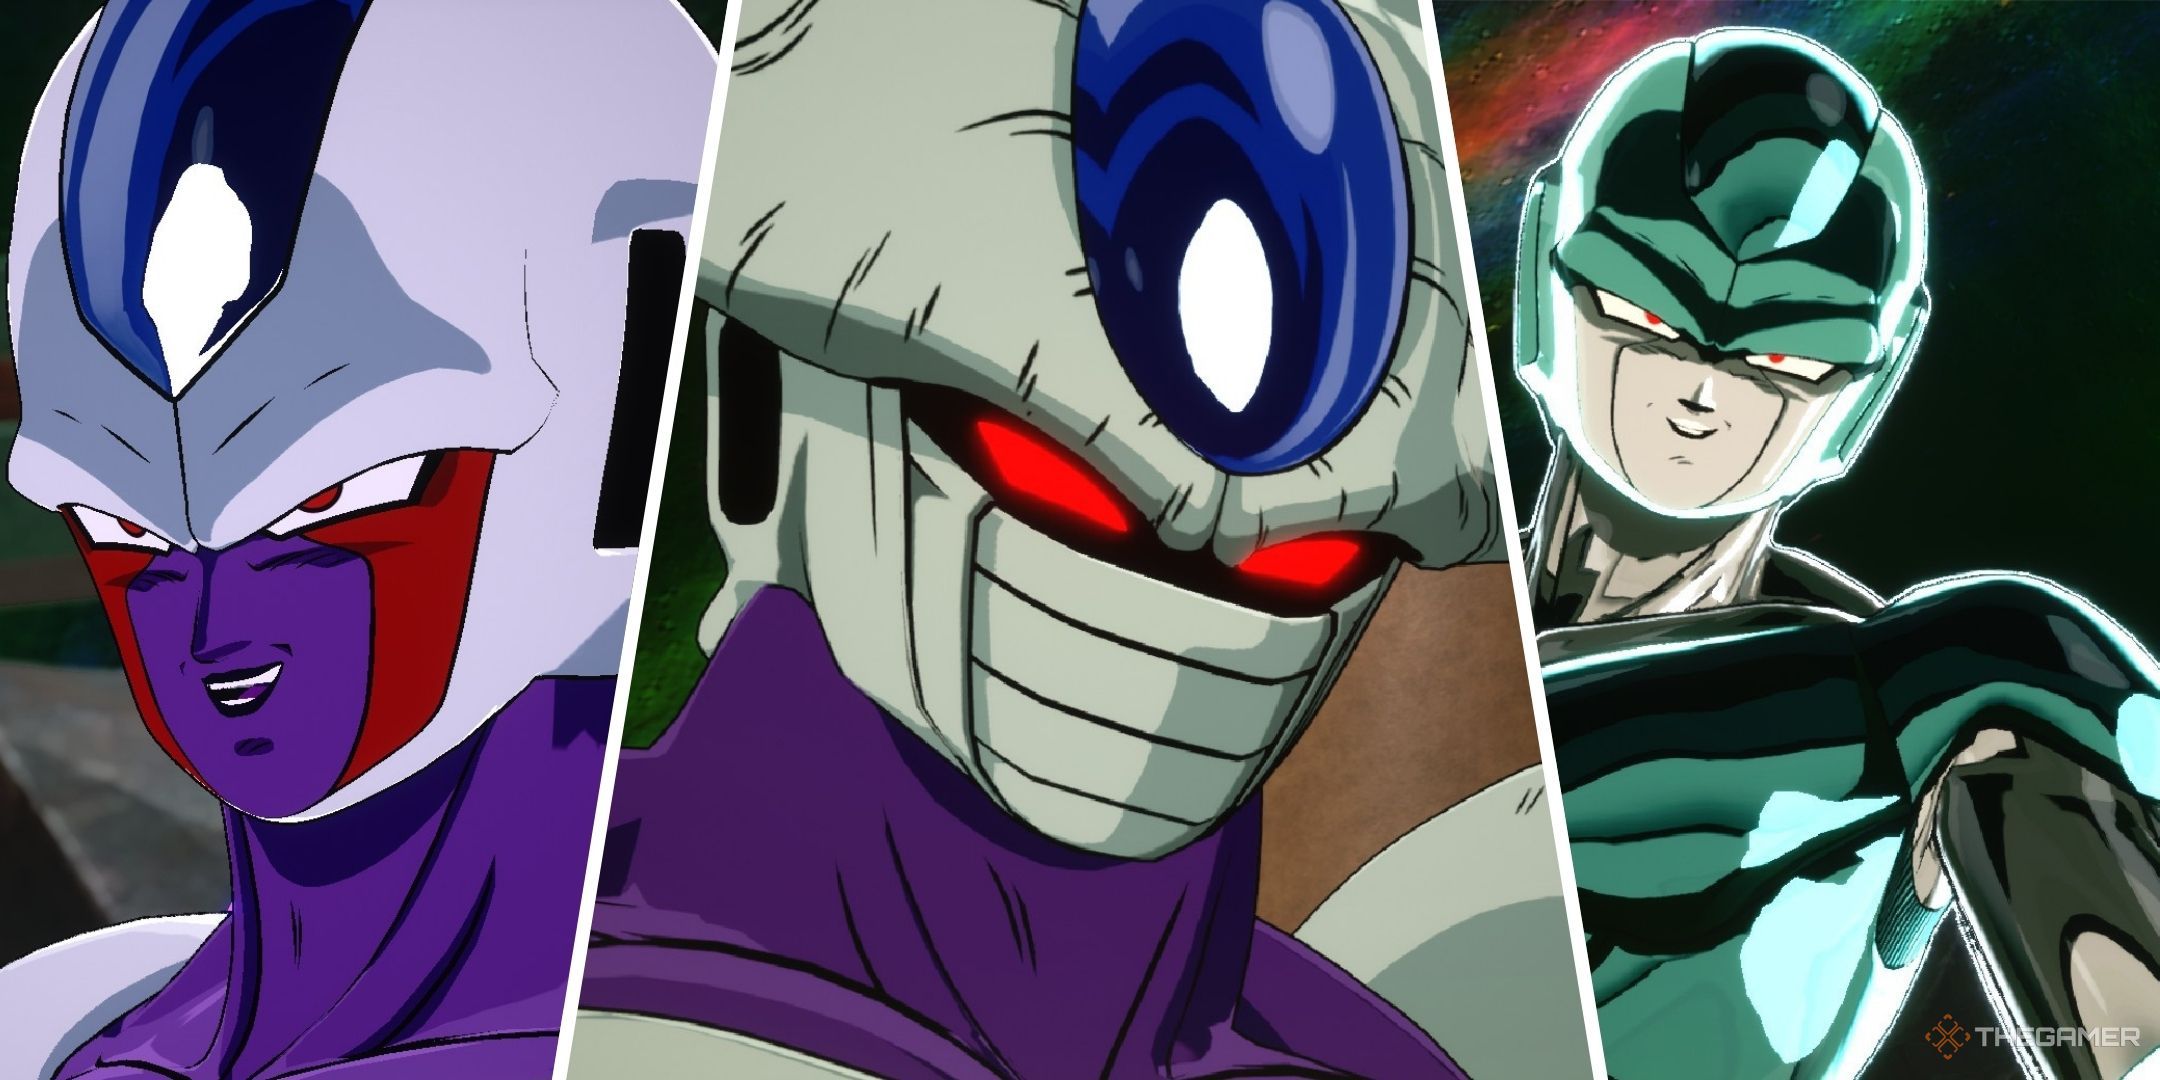
Many cinematic villains from Dragon Ball history have gotten into this Dragon Ball: Sparking Zerowith few being as iconic as Frieza's older brother Cooler. Not only is this alien fighter powerful enough to rival its sibling, it even has an additional final form as well as a metal version.

Related
Is Dragon Ball: Sparking Zero worth it?
Fans have been waiting a long time for a sequel to Budokai Tenkaichi 3, but was it worth the wait?
Since the movesets of each Cooler variant are so similar, we've collected them all together in one guide. Keep in mind that Metal Cooler is a different character with its own mechanics and nuances, so you should learn Cooler's different options before deciding who you want to control.
Cooler

|
Move name |
Input |
Costs |
Effect |
|---|---|---|---|
|
Psychokinesis |
R2/RT + Up on the D-Pad |
2 Number of skills |
Paralyzes the target for 3 seconds. |
|
Afterimage |
R2/RT + Left on D-Pad |
2 Number of skills |
Automatically dodge the next attack. |
|
Wave full of energy |
R2/RT + Square/X |
3 Ki Bars |
Fires a Super beam that does almost an order of magnitude damage. |
|
Eye beam of darkness |
R2/RT + Triangle/Y |
2 Ki Bars |
Deals slightly more than half a bar of damage in a horizontal line aimed at an enemy. |
|
Death ball |
R2/RT + Circle/B (in spark mode) |
Full Ki Bar |
A Super projectile that deals nearly two bars of damage. |
Cooler compared to online matches

Cooler's overall moveset is similar to Frieza's, mostly due to the same body structure. However, his psychokinesis can be chained together, making for a nice potential combo loop once you catch your enemy off guard; even though his skill count has increased to four, you can only do this twice.
Darkness Eye Beam is a great tool for harassing opponents who tend to avoid your special moves rather than block them, but it's not a projectile of any kind, so you can be easily blocked. It is better to use a full power energy wave to cause beam fights.
Death Ball is the basic finishing move of the Frieza race, which shares the move's main weakness: the way it is executed. Since you start with Death Ball on you, a lot of beams or even quick Super Supers can break it, so you'll be wasting Sparking mode.
Cooler (final form)

|
Move name |
Input |
Costs |
Effect |
|---|---|---|---|
|
Psychokinesis |
R2/RT + Up on the D-Pad |
2 Number of skills |
Paralyzes the target for 3 seconds. |
|
Psycho Barrier |
R2/RT + Left on D-Pad |
3 Number of skills |
Sends an explosive wave that knocks enemies back. |
|
Death Ray |
R2/RT + Square/X |
2 Ki Bars |
Fires a quick Super beam that deals almost a full order of damage. |
|
Death Chaser |
R2/RT + Triangle/Y |
3 Ki Bars |
Launches a Rush Super that deals damage. |
|
Supernova |
R2/RT + Circle/B (in spark mode) |
Full Ki Bar |
Fires a Super beam that deals almost two bars of damage. |
Cooler (final form) compared to online matches

Cooler in his final form is a much better version of the character, with all the strengths that the previous form had and covering almost all of the weaknesses. The main point of choosing Cooler's base form is to save on DP, since the base form is six points, while the final form is seven.
Transforming into Cooler's final form costs 2 Skill Count and gives you an extra half health.
You can still chain one psychokinesis after another, but you also have the Psycho Barrier skill, which breaks up combos and can save you when you're in a pinch. It's not as good as the Explosive Wave skill you'll find on most Vegeta characters, but it's still useful.
As for Supers, he now has a healthy mix of Rush and Beam Supers, with Death Beam being his best. It only costs two Ki Bars and is one of the fastest beams in the game that can break most castings when they happen.
His ultimate, Supernova, starts off fast like a regular Beam Super, making it easier to connect with than most Frieza characters. Once connected, Cooler will still shoot a large ball of energy at his opponent, but will do so during a cutscene.

|
Move name |
Input |
Costs |
Effect |
|---|---|---|---|
|
Instant transfer |
R2/RT + Up on the D-Pad |
2 Number of skills |
Teleport behind the objective. |
|
Regeneration |
R2/RT + Left on D-Pad |
4 Number of skills |
Restore a bar and a half of health. |
|
Lock-On Buster |
R2/RT + Square/X |
4 Ki Bars |
Fires an unblockable Super beam that deals nearly one turn of damage. |
|
Finger Blitz Barrage |
R2/RT + Triangle/Y |
2 Ki Bars |
Fires a series of quick Super beams that can deal damage in one hit if they all connect. |
|
Supernova |
R2/RT + Circle/B (in spark mode) |
Full Ki Bar |
Fires a Super projectile that deals nearly two bars of damage. |
Metal cooler compared to online matches

Metal Cooler has many of the moves that Cooler has, but works much differently. For starters, he counts as an android character, which means he can't charge Ki (except when entering Sparking mode), but charges passively during a match.
He's also a character that can be picked multiple times, which makes him a good character to adopt if you need to team fight. However, you could only take two metal coolers in DP battles (since they cost seven DP each), so keep that in mind.
His abilities are completely different from all other members of the Frieza race as he has instant transfer and regeneration. Since Metal Cooler can't transform, it's better to save the skill count for regeneration and only use instant transfer if you need to end the game.

Finger Blitz Barrage is your harassment tool, best used to interrupt whatever your opponent is trying to do or drain their Afterimage charges. Lock-On Buster is a little expensive for the damage it does, but since it's unblockable, it's another tool to close out games with surprising speed.
Metal Cooler's Ultimate Move is Supernova, and although it shares the same name as the Ultimate Move for Cooler's final form, it works exactly like Death Ball in base form. This makes him an average Ultimate overall, but with all the other tools Metal Cooler has at his disposal, he's probably the best form of character to handle.

Other
Dragon Ball: Sparking Zero – Bardock Character Guide
Here's how to play as Bardock in Dragon Ball: Sparking Zero!
