
Escape Level 0
Find the Exit in Level 0.
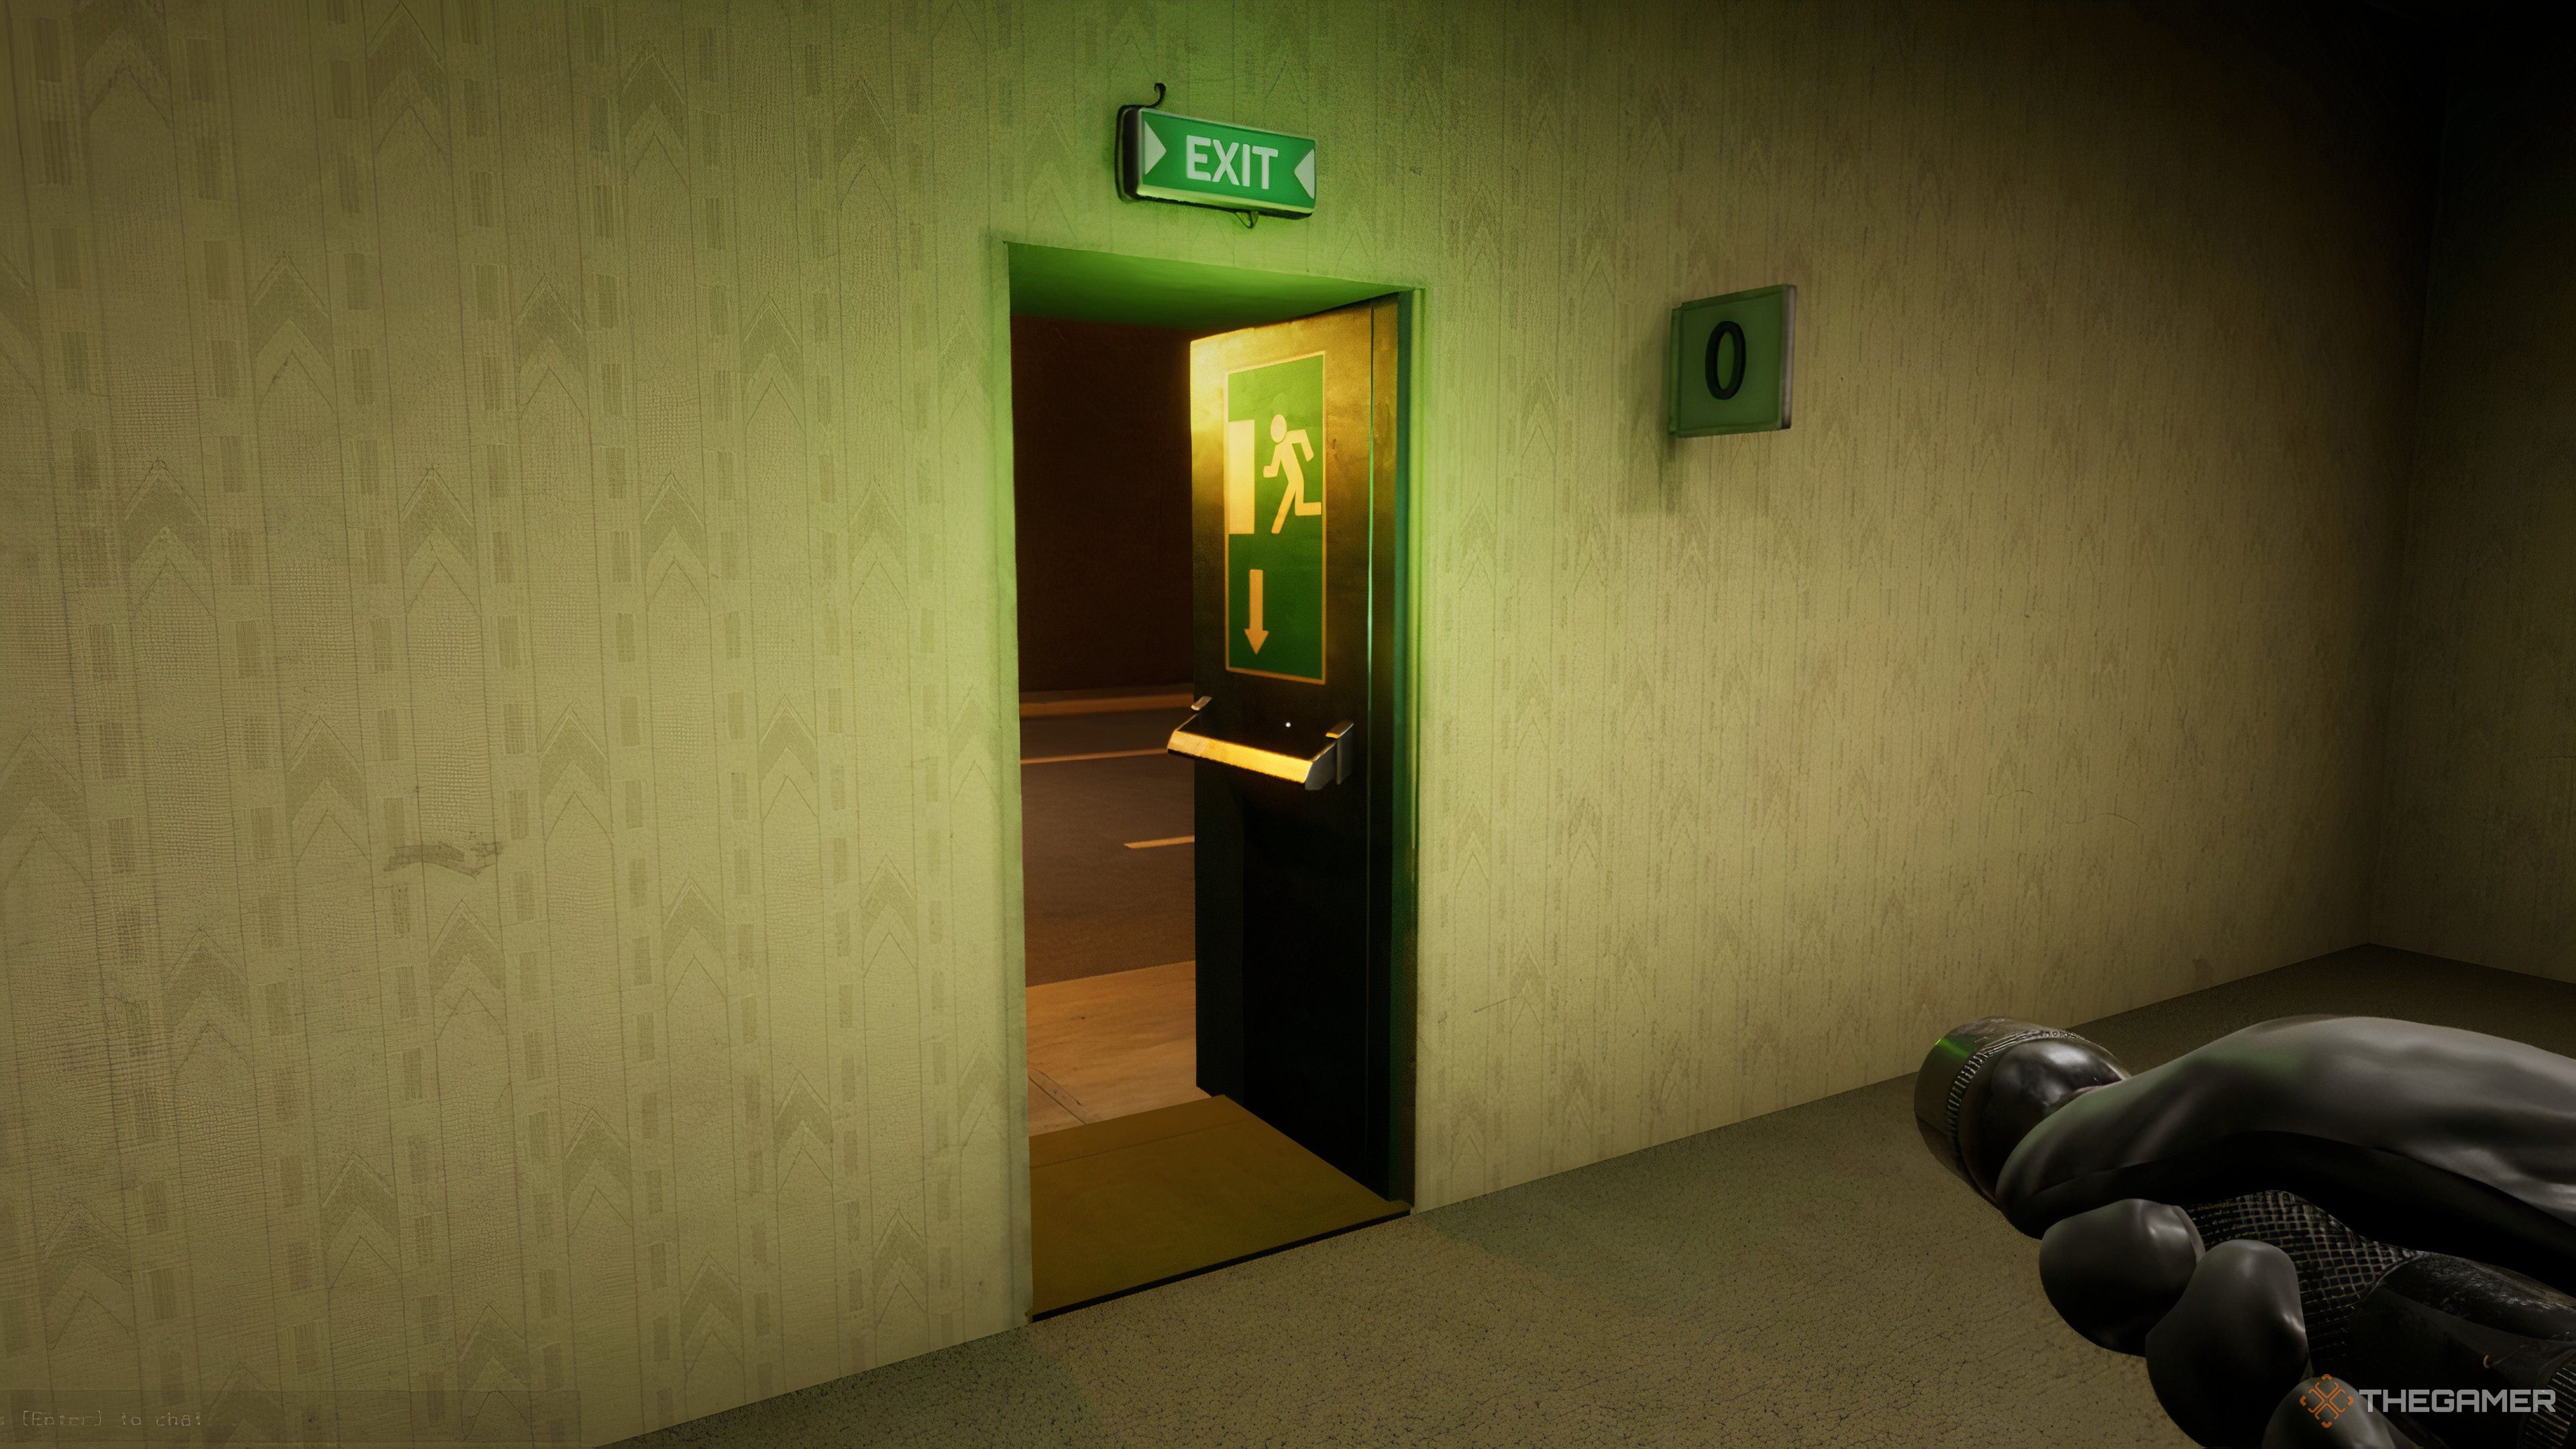
This level is pretty straightforward. There is one entity lurking around the empty area that you’ll need to avoid while you look for a broken ladder. The missing pieces of the ladder will be located in the same area as its base. Collect the pieces once you find them and attach them to the ladder to reach the next area.
In the second part of this level, balance yourself across the sections of the floor to reach the other side and complete the level. If you fall, follow the arrows on the walls to find your way to an alternative exit.
Squad
Beat the game in multiplayer with Normal difficulty.
Refer to the note above this table for instructions on unlocking this achievement solo, if necessary.
Escape the Habitable Zone
Find the exit in the Habitable Zone.
The Habitable Zone is primarily a parking garage, and in the first area, your main goal will be finding the color combination for the keypad near the elevator in the area. To find the solution, look for a room with uncovered cars.
For the second part of this level, your goal is to track down three keys. There will be a room with slots where four keys must be inserted to open a steel door. One is already placed. Find the other three by searching for cabinets and desks in other rooms. Once you have them all, place the keys, turn each one in quick succession, and the door will open.
During the final part of this level, the goal is simple. All you need to do is find the elevator while avoiding the entity. Try to look for a sloping ramp, as that will lead you to the elevator.
Escape The Hub
Enter the hub and activate the outpost power.
In the hub, head through the only open door on the left until you reach a security panel next to a closed M.E.G. door. On the panel, you’ll need to match the codes on the left to the code on the right. Only one of the three columns on the left will have the right answer, but once you match it, the code on the right will change, and you will continue matching until the door opens.
Head through the door and flip the switches on the right to turn on all the lights. The computers in this room need passwords, which can be found on a piece of paper at the left end of the area. Once you’re on a computer, open and run the file marked Gate.exe, which will open the gate at the starting area that was locked.
In this final area, you’ll need to avoid Smilers, which only attack in the dark. To do this, run from each of the brightly lit hallways to the next when the main area’s lights are on. If you see them flickering, they’re about to go out. Check each set of blue doors in every hallway until you find the exit.
Escape Pipe Dreams
Find the exit in Pipe Dreams.
Walk down the hallway of pipes and head towards the direction that says Electrical Station. Fun cannot be accessed yet and will result in being chased by a Smiler. As you walk, two pipes will burst, revealing steam. Avoid that, and keep going until you receive an indication that something is behind you. At this point, you’ll be able to sprint without worrying about stamina until you reach the Electrical Station.
Escape Level 3
Find the exit in the Electrical Station.
This area can be quite tedious and annoying to complete. Ultimately, you’re going to be tasked with activating nine breakers. There are three per area, and each time you turn on three in one area, another door in the main area with the panel with nine lights will open.
The first three will be relatively easy to find and turn on. The second area with three breakers will have an electrical hazard in the form of sparking puddles you need to avoid and Hounds to deal with. Thankfully, these entities can be blinded by your flashlight, so you do have a way to deter them.
The last area with three switches will be the same as the last in terms of hazards, but now the breakers are actually puzzles you have to solve. There are two types of puzzles. The first is simply matching colored wires to the corresponding color on the other side. The second is a hexagon-shaped electrical puzzle where you’ll need to twist movable pieces until they line up with the pieces next to them.
Once everything is on, head back to the main area to go through the now-open door and proceed to the next area.
Escape Level 4
Find the exit in the Abandoned Office.
The Abandoned Office is relatively safe compared to some of the other levels. It’s not too dark, and you can explore somewhat freely. The major threats in this area are Window entities, which are just entities that can appear in any window. As long as you avoid getting too close, you’ll be fine.
Look for a room with vending machines and a locked door. In this room, each vending machine will be tied to an item in the room. Count the items in the room and input the number on the corresponding vending machine. Once you’ve done all of them correctly, the door will open.
As for the second area, pass by the cubicles until you reach an area with a button on the wall that says reset cameras. Press it and then proceed. You can’t truly sneak past the cameras as they pick up your movements easily, but you can sort of navigate around them. Once you’ve passed all four, you’ll reach a security room with monitors.
If a monitor says you were spotted, then you’ll need to try again by using the crowbar on the vent outside the room, which will take you back to the start. If you weren’t spotted, the door in the room will be open, and you can proceed to the next level.
Escape Level 5
Find the exit in the Terror Hotel.
This is a relatively high risk level in terms of entities and sanity drain. In the first area, the lobby, you’ll first need to collect some of the bug spray off the check-in desk, as you’ll need it later. Next, you’ll notice there are four paintings in the room. You need to press the buttons underneath the paintings in order from youngest to oldest.
Doing this will bring you out to the main hall, where you’ll need to check each room until you’ve found three swarms of moths. Use bug spray on each one to produce Moth Jelly, which you will need to offer to the dumbwaiter at the end of the hallway. Offer all three jars to get three keys, which can be used on the locked glass door.
In the second area, which is one of the floors of the hotel, you’ll notice some open mailboxes. Each open mailbox is missing a letter you need to find, so look at the room numbers on the mailboxes and grab the letter off the nightstand in each one. Entities are roaming the halls, but you can simply go into an open room and shut the door to escape them.
When you have them all, the message will read “Look Up” and indicate that you need to look at the ceiling, where you’ll now see a code. Input that code into the locked door near the mailboxes, room 235.
In the last area, the boiler room, you’ll need to get past some Female Deathmoths to reach the exit. The exit door will have an exit sign above it, so don’t even risk opening a door without an exit sign. As for getting past the Deathmoths to reach the exit, you can either sneak by or, if they do start chasing you, activate one of the pipes around the area to blast them with steam and deter them.
Participation Trophy
Beat the game in Easy difficulty.
You must select the option for Easy difficulty on the main screen to get this achievement.
Escape Level Fun
Find the exit in Level Fun.
When you exit the boiler room, you’ll be back in Pipe Dreams. Only this time, go in the direction of the sign that says Fun. Once you reach what is essentially an eerie birthday party, you’ll need to sneak past the Partygoers to reach the exit. The area isn’t that large, but sneaking around while crouched can be troublesome with how many Partygoers there are.
Occasionally, you’ll need to get their attention to move them away from a path you need to take, but you can do this by triggering them to chase you and then hiding under a table. That said, if they’re too close, they will grab you from under the table too.
Escape the Poolrooms
Find the exit in Level 37, The Poolrooms.
The Poolrooms is one of the easiest levels to pass through. The risks are minimal, and you simply need to find the exit by wandering around. Just be careful to avoid falling through gaps or into anything that looks unsafe. The only entity in this area is the Hydrolitis Plague, which is the off-putting liquid in some of the pools that will kill you if you touch it.
Escape Level !
Find the exit in Level Run For Your Life.
This level will consist of several entities chasing you down a path. Your only goal is to avoid obstacles and take various routes until you reach the end, without being caught, of course.
Escape The End
Find the exit in The End.
This level resembles a library where an entity known as the Scratcher will be walking around. Your goal here is to collect tapes throughout the area, which you will need a flashlight for, as the lights will eventually go out. If the Scratcher is blocking an area you need to reach, you can pull the alarms on the wall to lure it over there.
Once you’ve collected all the tapes you need, which vary based on how many people are playing, you’ll be able to unlock the exit door. Check the computer in the middle of the room to see how many tapes you need, and again once you’ve collected them all.
Escape Level 94
Find the exit in Level 94.
While initially a pleasant-looking area compared to the horrors of other levels, Level 94 holds a dark secret. As soon as you spawn in, you should see a warning that will let you know you shouldn’t be out after dark. Your goal is ultimately to make it to the castle in the area, but this level contains a day/night cycle, and if you’re out at night, you’ll be hunted down.
To avoid this, take the trucks during the day to get you as far as you can and then hide in a house overnight. You can technically hide in a truck, as the doors will close, but you’re more likely to be found here. Which is also why, in the house, you should still hide under a bed, as the entities of this level will still barge in if they know where you are. Once you reach the castle, you’ll now face the Animated King.
In the first part of the castle, which is a funhouse, line up the blocks with shapes on them to match the shapes on the ground. This will lead to another room where the Animated King, a clown, resides. While in here, the lights will cut off, and he will attempt to attack you, but you can deter him with your flashlight until you get to the roller coaster, which is your escape. You will have to survive here for a minute or so to exit via the roller coaster.
Escape Level 6
Find the exit in Lights Out.
Level 6 is a completely dark area where you’ll need to use a flashlight available in one of the brightly lit rooms to get around. Your goal for this part is to find a room with a flickering light, which leads to the next part of this level.
In this room, pick up the LiDAR scanner and proceed to what will be a pitch black maze where flashlights don’t work. Use the LiDAR to shoot dots at the walls in the maze to navigate your way around. The dots will help you see where the turns and hallways are so you can find your way around. You can put it down and pull it back out to reset the color to one that doesn’t hurt your eyes.
A Wretch is roaming the area, but you can see it on the radar on the scanner. To avoid it, you can actually just crouch close to the wall, and it will basically walk right past you. Keep going until you find a well-lit room that contains your exit.
Escape Level 7
Find the exit in Thalassophobia.
This level is a bit different from some of the previous ones as it revolves around the ocean. Head down the stairs of the house you spawn in to see that the bottom of it is underwater. You can walk through the water and outside to the boat, which you’ll need to use to get around the level.
Your goal is to reach the lighthouse, but stop at other houses and check them for supplies, as one will have flares that will help when the level gets extremely foggy. Don’t drop out of the boat into open water, or you’ll end up a nice snack for The Thing of this level.
Once you reach the lighthouse, put on the diving suit and climb into the shark cage. The Thing will attack the cage as it lowers, but you’re safe. Once it lands on the ocean floor, climb out and swim around until you find a cave entrance with lights inside.
Escape Level 8
Find the exit in the Cave System.
The first part of the caves will involve sneaking past Female Deathmoths again. As long as you stay crouched, you should be fine. You’ll have the option to pick up walkie-talkies here, but they’re useless if you’re playing solo. Once you reach a bridge, you’re about to enter the next part of the level.
Do not run or jump on the bridge. Walk or crouch across slowly. On the other side, you’ll see a door that leads to an extremely dark area with disguised Skin Stealers with flashlights. They’re meant to confuse you if you’re playing multiplayer, but if you’re playing solo, then you know none of them are friendly.
You’ll need to either sneak past them or down a Juice or Energy Bar and make a break for it. The latter is recommended if you want to avoid frustrations, but the choice is up to you. Once you’re past them, you’ll eventually find yourself back inside Level 0, where you started. In that area, you’ll need to complete Level 0.11 and a piece of Level 188, after which you’ll be brought back to this level and can finally escape it.
Level 0.11 doesn’t have an achievement, but to get through it, you’ll need to first follow the arrows that lead you to the main part of the level. Here, you’ll need to use a chainsaw to break through four doors to activate four switches and unlock your exit. A Howler is lurking around, but you can hide from it in vents or rooms. Additionally, one of the rooms you unlock won’t have a switch, but that’s because the switch is actually through a vent in that room.
As for the last section, which is part of Level 188, you’ll be overlooking a small courtyard. Here you need the code for the keypad lock on the elevator. The solution is based on the window pattern. Enter it and take the elevator to Level 9.
Escape Level 9
Find the exit in Level 9.
Level 9 can be incredibly dangerous, but the actual solution is pretty straightforward. The large house with a locked gate will have a panel in front of it highlighting three houses. These houses each contain a computer you’ll need to interact with to open the gate of this house.
Be careful, however, as there are likely to be entities lurking in the homes that will chase you down if they spot you, and one walking the roads between houses. Once all the computers are on, head back to the main gate, which will now be open, and follow the path to the front door.
In The Abandoned Outpost, your goal is to get the Administrator Card needed to escape. Unfortunately, a Wretch is carrying it. So you’ll need to use the Almond Concentrate found around the level to transform it back into a human by placing the concentrate in the Emergency Shower. Hide in vents or lockers when the entity is nearby to avoid being caught.
Once all the emergency concentrate is loaded, you’ll need to lure the entity to the shower. Once it’s trapped inside, push the tank up to the shower, and it will transform the entity back so you can collect the card. Take that card to the large terminal outside to reach level 10.
Escape Level 10
Find the exit in Level 10.
When you spawn into level 10, you’ll find yourself on a road between fields. Your first objective here is to keep walking, but be sure to peek behind you as you walk because an entity may be following you. However, when you spot it, it will go back into the wheat.
Once you reach the barn, pass through it, and you’ll see a sign telling you to turn on the Windmill lights. The glowing red light will guide you to the windmill through the wheat, and there are five to activate. Once you activate the first, a Faceling will begin hunting you. You can’t do anything but run from it, so just keep going and try to walk along the fences you come across to find openings.
When you reach the fifth windmill, you’ll now be near the entrance to the next level, 3999. You don’t need to worry about lighting the last Windmill; just run to the arcade.
Escape Level 3999
Find the exit in Level 3999.
Level 3999 is a pleasant arcade, which means you won’t need to worry about entities or sanity here. So, keep going until you reach the area with old arcade cabinets. Here, you’ll need to find a code for an elevator. The code you need, 931, is on the tickets found on a table at the end of the room.
A video will play in the elevator that you absolutely need to watch, as it won’t be shown again, and it explains something you need to know for another level. You can skip it by hitting elevator buttons, but again, don’t do this on your first playthrough. The elevator will let you out on Level 0.2.
Escape Level 0.2
Find the exit in Level 0.2.
Like the arcade, Level 0.2 is relatively safe, but there is an entity here. When you first arrive, you’ll be able to find some blueprints on a wall with a map layout of the area and where you are in relation to the rest of the area. As you might guess, you need to reach each of the five areas indicated by a light.
When you arrive at each one, this is where the Noclipping comes in that you saw in the elevator video. If the light is green, it’s safe to pass through. If it’s not, you need to wait until it is green before falling through. When you fall through, you’ll be in a red-tinted version of the space, Level 0.1, with doors to open. Watch out for the Ghost Smilers in this area, which you can deter with your flashlight, and the Skin Stealers.
Opening these doors will unlock the door in the main area, so clip back through to pass through the now-open door and activate the electric panel inside by stopping the arrow when it is in the designated area. You’ll need to do this five times, then you can head back to the main area with the elevator. Pull the active lever to lower the gate where the Bone Thief is, and then cross to the elevator quickly and take it.
Escape the Snackrooms
Find the exit in the Snackrooms.
After leaving Level 0.2, you’ll find yourself in the safety of The Snackrooms, where no entities reside and there is no sanity risk. Upon entering, you’ll find a piece of paper on the table with dots. These dots are actually buttons on a typewriter that you’ll need to input on the typewriter in the room to proceed. The answer, in order of row, is 3, 7, 5, and 2.
Escape Level !~!
Find the exit in Level !~!.
While there is no sanity risk on this level, it’s not exactly considered safe, as it is appropriately known as the Hotel Chase. In the initial spawn area, go straight until you reach the gated exit. Stand on the pressure plate on the left and then proceed straight across and down the hall until you reach the lever on the left side of the wall.
Once you pull it, the Clump entity will emerge, and the previously closed gate will now be open. Make a break for it and try to avoid the obstacles, which will include doors flinging open. When you reach the fork of the red and blue hallway, take the blue one. Red will lead to a Smiler. Pick up the chainsaw on the table and go through the door to the right of it. You’ll have to saw through the boards on the door here, but be quick.
Once you’re through, keep going straight until you eventually spot a hole in the floor with arrows pointing to it. Drop through and keep going until you reach an area with stairs. There will be an open door on the stairs you need to take, so don’t keep going down the stairs. In this hall, keep going until you reach the end of the path, and you must go right or left. The right path is the correct one. There will be blue light coming from the left, but that’s a trap.
Keep going down the right hall until you reach another choice of left or right, and go left. This will eventually lead you to a set of stairs that lead up to a blue hall, where the exit to Level 188 is.
Escape Level 188
Find the exit in Level 188.
You caught a glimpse of this level earlier, but now is when you’ll officially complete it. When you first spawn, you’ll find yourself in a lobby. In front of the front desk, you’ll see a piece of paper on a box that indicates you need TVs. Head over to the elevators and up to the floor with hotel rooms. Here, you’ll need to search the rooms for three TVs.
The Aranea Membri will be roaming the halls, so duck out into rooms to avoid it. That said, don’t get too close to any windows, as the Window entities make a reappearance here as well. Once you find a TV, you’ll need to push it back to the elevator and down to the lobby. Push the TV into the spot that corresponds with the letter on the front of it.
Once you’ve found and placed all three, the door to the left of the TVs will open. This will lead us out to the courtyard. There is a large gap to the right, which is where you’re meant to jump into. That said, if you can make it to the door on the other side of where the Aranea Membri will descend, you will reach Level You Cheated, which isn’t really a Level, just more of a fun bit.
Escape Level 52
Find the exit in Level 52. Turn on screen reader support.
After escaping Level Fun+, you will find yourself in Level 52. This level is a school with more Partygoers, and a friendly entity called the Partypooper. The starting area will let you know that the Partypooper will guide you to the exit. So, when you reach the next area, follow the Partypooper.
Essentially, you need to do everything the Partypooper does. When they crouch, you crouch, and so on. This will keep you safe from Partygoers until you reach the exit that leads to Level 55.1.
Escape Level 55.1
Find the exit in Level 55.1.
When you spawn into this level, go forward and grab one of the cameras off the table. The camera will have a photo attached to it. To pass this level, you’ll need to take the elevator mechanism near the computers to the other levels to take photos with the camera. The first photo will be slightly different if you’re in multiplayer, but the objective is the same. Find the spot in the photo and take another picture of it.
Once you’ve taken all the photos, take the elevator again, and it will now go up. This will lead you to an overgrown area with a pair of white doors. Jump down after opening the doors, and you’ll receive the Wrong Door Ending.
Escape the Death Slides
Find the exit in Death Slides.
The Death Slides is an area within The Overgrowth, which can be reached through The Bunker after receiving any ending in the game. The area resembles Level 0, but is a little more abandoned and dull. In this area, you’ll find four slides with arrows pointing to them, but don’t jump down just yet.
You need to disarm the fans in the slides by shoving Wanderer bodies down them. Howlers will be roaming the lever, but you can hide in holes to avoid them. Drag the bodies back to the slides and shove them down each one. You’ll be able to see what would’ve been your fate through the window nearby that shows the bottom of the slides.
When they’re all clear, slide down any of them to reach The Grassrooms. If you slide down one before clearing all four, the Bone Thief will attack you at the bottom.
Group Effort
Beat the game in Multiplayer with Hard difficulty.
Refer to the note above this table for instructions on unlocking this achievement solo, if necessary.
Escape the Grassrooms
Find the exit in the Grassrooms.
When you arrive in the Grassrooms, you’ll be at the top of a large staircase. Search for a large open room with two levers on the ground. Pulling the levers will move the bridge pieces so you’re able to cross. Pull a lever on the new platform you’re able to reach, which will open a door on the ground where a knife can be found. Use the knife to cut the rope on the platform you just came from.
Eventually, you’ll come across a metal door with four red lights next to it. Go through the maze and look for four buttons that will activate each of the lights beside the door, allowing it to open. Jump across the platforms in the next area to cut the rope there and lower another plank you can cross.
In the next area, there will be another metal door. Navigate yet another maze, which will require you to walk along the thin sections of the top of the walls, to reach the four buttons you need to press. When the door opens, take the elevator on the other side to unlock the Empty City Ending.
Escape Level 9223372036854775807
Find the exit in Level 922.
Only after getting the Wrong Door Ending, head back to Level 1 and use your keycard on the access station at the top of the large ramp in the center of the room. When you spawn in, you’ll find yourself in front of a spiral staircase.
The stairs go up to floor 99, but you’re just looking for the floor incorrectly listed as 94. Keep an eye on the number on every floor, and once you see 94, jump down the center of the stairs to unlock The Suburbs Ending.
Survivalist
Survive in Level 0 for 15 minutes.
This achievement is unlocked by doing exactly what it says. Hang around in Level 0 for at least 15 minutes without dying.
Escape Level 974
Find the exit in Level 974.
Only after unlocking the Wrong Door Ending, go back to Level 6 from The Hub. Rather than heading through the door that leads to Level 7 this time, use your key card to pass through a different door and reach Level 974. This will eventually drop you into a room with a stage in the middle. The entity in this area, Kitty, is going to appear and will leave you alone initially.
Kitty is looking for an audience for their show, so you’ll need to find and collect toys to be placed in the various seats in front of the stage. That said, don’t turn your back on Kitty, or they will slowly creep closer until they’re close enough to attack. When the audience is ready, the show can begin.
A spotlight will highlight an X on the stage that you need to stand on. There will be enough spots for however many people are playing. This will ultimately unlock The Pink House Ending.
Escaped!
Complete the final ending in any difficulty.
Once you’ve unlocked The Pink House Ending, The Suburb Ending, The Wrong Door Ending, and The Empty City Ending, go to the small room on Level 3999 by taking the elevator in the M.E.G. Base. You’ll see all your unlocked endings on the arcade cabinets, and you are now free to interact with the main one, Level 3999, to receive the Final Escape Ending.
Nightmare
Beat the game with 4 players on Nightmare difficulty
This is the only multiplayer achievement you can’t use the private lobby trick for because it explicitly states that you need four people to complete it.
