As you play Umamusume: Pretty Derby, you’ll get a ton of Free Carats, especially during the early game. This will let you summon more on different banners to get better characters and support cards. As you summon more on character banners, you can even upgrade your two-star units to three-star.

Umamusume: Pretty Derby – Pity System, Explained
While it might be difficult to hold back when you have Carats in Umamusume: Pretty Derby, you might have a better time trying to save them.
A perfect example for this is Super Creek, who’s a two-star Umamusume excelling in Medium and Long distances as a Pace Chaser. She can be a great character to build for Team Trials, but can also be a little complicated if you don’t know what to do.
Updated October 31, 2025 by Zoë J. Osik: We’ve updated our guide to include more support cards and skills to help you fulfill Super Creek’s racing dreams!
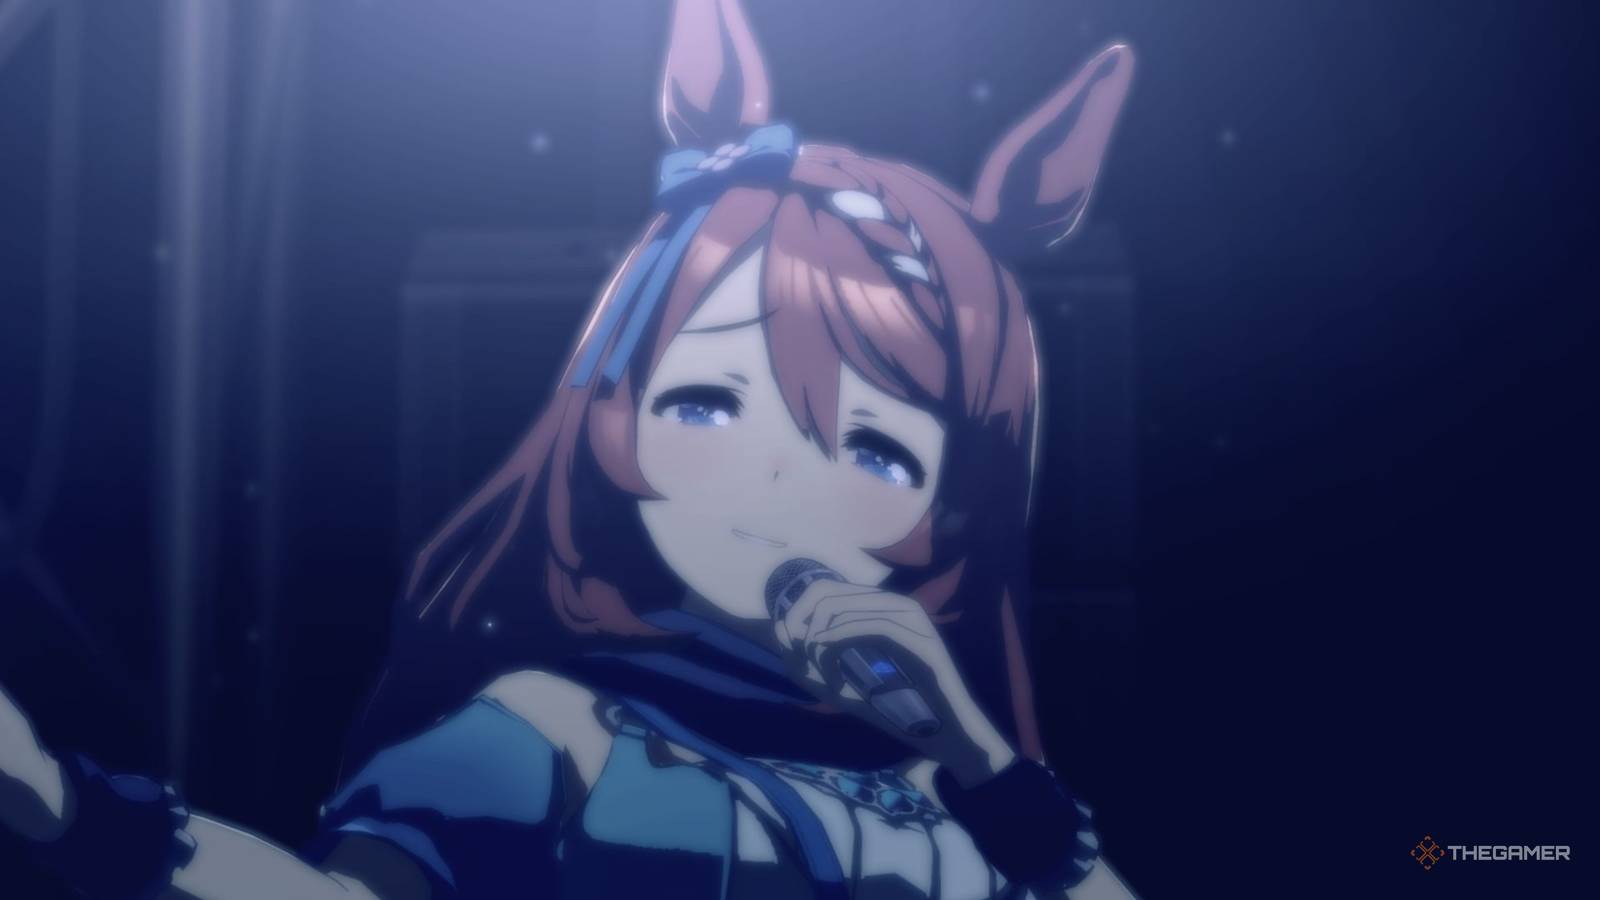
Super Creek Overview

|
Distance |
Sprint (G) |
Mile (G) |
Medium (A) |
Long (A) |
|---|---|---|---|---|
|
Type |
Front (D) |
Pace (A) |
Late (B) |
End (G) |
If you’ve been keeping up with the meta of Umamusume: Pretty Girl, you might know Super Creek from one of the best Stamina SSR Support Cards you can have. Unfortunately, you can’t use that card on her, but she’s still a great character to build outside of that. As you can see above, Super Creek has a high rating as a Pace Chaser over larger distances.
This can be a little daunting since Pace Chasers usually stay close to the Front Runners, requiring nearly as much Stamina, especially over Medium and Long distances. However, Super Creek’s unique skill helps you in that regard since it automatically recovers your Stamina if she’s placed well in the middle of a race.
The Gut and Wit stats can improve Super Creek’s placement during a race, making them decent choices for upgrades.
Super Creek Career Guide
If you look at Super Creek’s career, you’ll find only Medium and Long races throughout, which fit her general preferences. However, if you’re in the early game, it can be difficult to build enough stats for these races in time since you not only need a ton of Speed and Stamina, but also some Power to accelerate properly at the right time.
Moreover, you’ll need a bit of Gut too, especially if there are a lot of racers using the Pace Chaser style since they can block you out. Here’s what you should focus on during each year of her training:
|
Year |
How To Train |
|---|---|
|
Junior |
Much like other characters, the first year for Super Creek will be focused on getting to the yellow bar with as many trainers as possible. During this year, you have low levels of training, so you’ll benefit the most by upgrading your Support Cards here. However, her priority for upgrades will be Speed and Stamina as much as possible. |
|
Classic |
In the second year, you have to carefully train each day based on availability. If you have a ton of cards for a recommended training, you can go for that. However, if you don’t, you can look into getting some races done for extra Skill Points. Since you can’t usually reach the stat requirement for Super Creek, you need a lot of Skills to make up for them. |
|
Senior |
The final year will mainly focus on getting the right stats with her (mentioned below). If you upgraded your Support Cards properly, you should get a ton of rainbow trainings to help you with that. |
Super Creek Legacy Recommendations
Legacies will be introduced to you during the tutorial, and they can randomly give buffs to your character three times in each run. In the early game, your legacies won’t make a big difference since you’ll only have G+ units, giving you about five to ten stat boosts each time. However, these will essentially help you achieve an A rank in the late game.
You can also follow some people from the leaderboard and use their characters as a Legacy to help yourself a little. Ideally, you’d want to stack up as much Speed as possible on Super Creek, with bits of Stamina and Gut as well. It’s also recommended to have Sparks on Medium, Long, and some Pace Chaser abilities.
Super Creek Best Stats

|
Stat |
Priority Ratio |
Optimal Numbers |
|---|---|---|
|
Speed |
8 |
800-900 |
|
Stamina |
3 |
300-400 |
|
Power |
4 |
400-500 |
|
Gut |
3 |
300-400 |
|
Wit |
2 |
200-300 |
Regardless of how many stars you have on Super Creek, her base stats will show a similar trend. She has the highest number on Stamina and Guts, followed by Wit, Power, and Speed in that order. Speed being the lowest base stat can easily be a problem in the career since it’s the most important one in the game, regardless of the distance and style.
As you can see above, even with a low base Speed, you’d want Super Creek to be over 800 on the stat by the end. However, it’s important to remember that these stats are quite difficult to achieve until you have better Legacy cards. With good cards and enough runs on your account, you can even pass the recommended stats overall.
Super Creek’s Stamina requirement is low simply because she isn’t a Front Runner, and her unique skill helps her regain some of it.
On this build, you’ll be relying quite a lot on Super Creek’s unique skill, which makes it important to have 60,000, 70,000, and 120,000 fans by February, April, and October of the Senior Year. Once you have this requirement, you can upgrade her unique skill three times. Other than that, you also need a lot of Power and Guts on her.
The former will help you accelerate properly during the final phase and the latter will improve your positioning, lowering the chances of you getting blocked. You also need a bit of Wit to have a decent chance to trigger the skills on her.
Super Creek Best Skills
Apart from the unique skill, Super Creek also has skills that help her accelerate at the right time and increase her Stamina when she enters a straight or turns a corner efficiently. However, there are quite a few other skills that you can pair with her to make her impossible to defeat over Long distances:
|
Skill Name |
Synergy with Super Creek |
|---|---|
|
Straightaway Recovery |
Recovers some stamina when you’re on a straight, which is super helpful with low Stamina in stats. |
|
Stamina to Spare |
This ability reduces your stamina usage during the early race. |
|
Nimble Navigator |
Pace Chaser is one of the most popular paths in Umamusume: Pretty Derby, and this skill will help you navigate to the front during the final spurt in these cases. |
|
Go with the Flow |
This skill further increases your navigation in the late race, which can be highly important and also let you prioritize the Gut stat a bit less. |
Apart from these skills, you can go for various other Pace Chaser-specific skills to have a high score during your training.
Super Creek Best Support Cards

|
Distance |
Best Support Card Build |
|---|---|
|
Medium |
Four Speed, one Stamina, and one Gut. |
|
Long |
Three Speed, two Stamina, and one Gut. |
Power might be one of the sought-after stats for Super Creek, but you don’t necessarily have to use a Support Card for it since both Speed and Gut training give you some Power, which can slowly build up throughout the run. However, if you’re lacking Power, you can replace any one of the cards above in the build with it.
While you might not have every Support Card on your account, these are the best cards you can use for Super Creek in any build:
|
Type |
Support Card |
Synergy With Super Creek |
|---|---|---|
|
Speed |
Tokai Teio |
With this card, you can get some navigation, Pace Chaser, and Medium skills for Super Creek. |
|
Kitasan Black |
This card provides ample skills and Specialty Priority that Super Creek can use to get ahead. |
|
|
Narita Taishin |
As an SR card, this is a good general purpose support to have in the deck. |
|
|
Eishin Flash |
As an SR card, you can swap this out with other support cards to boost Super Creek’s speed. |
|
|
Stamina |
Mejiro McQueen |
Apart from some great effects, this card also has the perfect abilities if you’re running Super Creek as a Pace Chaser over a Long distance. |
|
Rice Shower |
While not as good as the one above, this card can also give Super Creek some decent effects and a couple of skills if you get lucky. |
|
|
Mayano Top Gun |
This is a great general purpose support for Super Creek in improve her stamina and skills. |
Evidently, Super Creek doesn’t have a ton of cards that synergize well with her, but you can just use other random cards as stat sticks for their effects until some better cards arrive. Of course, meta cards like Fine Motion are always a good pick if you don’t have any other choice.
Super Creek Career And Events

When starting a career with Super Creek, the choices you make will affect how well she performs. Preparing ahead of time for her goals will help you achieve victory and win the URA Finale!
Below is a complete breakdown of her career objectives and the events that can occur throughout her career. Super Creek will unfortunately fall under the weather in the fall, but she returns triumphant in the spring!
Super Creek Career Objectives
|
Turn Number |
Month |
Objective |
|---|---|---|
|
Turn 12 |
Junior Year, Late June |
Participate in the Junior Make Debut 2,000m Turf – Medium |
|
Turn 28 |
Junior Year, Late February |
Place in the top 3 in the Sumire Stakes 2,200m Turf – Medium |
|
Turn 44 |
Classic Year, Late October |
Place in the top 3 in the Kikuka Sho 3,000m Turf – Long |
|
Turn 48 |
Classic Year, Late December |
Place in the top 3 in the Arima Kinen 2,500m Turf – Long |
|
Turn 54 |
Senior Year, Late March |
Place in the top 3 in the Osaka Hai 2,000m Turf – Medium |
|
Turn 56 |
Senior Year, Late April |
Place in the top 3 in the Tenno Sho (Spring) 3,200m Turf – Long |
|
Turn 68 |
Senior Year, Late October |
Place 1st in the Tenno Sho (Autumn) 2,000m Turf – Medium |
|
Turn 72 |
Senior Year, Late December |
Place 1st in the Arima Kinen 2,500m Turf – Long |
Super Creek Career Events
|
Event Category |
Event Name |
Choices |
|---|---|---|
|
Costume |
A Self-Satisfying Wish |
Top: +20 Power Bottom: +20 Stamina |
|
Costume |
Fill Life With Love |
Top: +10 Speed, +10 Stamina OR +20 Wit Bottom: +20 Wit |
|
Costume |
Patience Is Key |
Top: +20 Guts, random chance to get the Hot Topic status Bottom: +10 Stamina. +10 Power, random chance to get the Hot Topic status |
|
Choices |
One-Day Experience Ceramics Class |
Top: +5 Speed, +5 Wit Bottom: +10 Stamina |
|
Choices |
Find The Lost Child! |
Top: +10 Power, +10 Stamina, -10 Energy Bottom: +10 Wit |
|
Choices |
A Dangerous Treat |
Top: +10 Guts, +15 Skill Points Bottom: +1 Corner Recovery hint |
|
Choices |
Sweet Nighttime Temptation |
Top: +30 Energy, +10 Speed, +10 Skill Points, -1 Mood, Slow Metabolism status Bottom: +10 Energy, +5 Speed, +5 Skill Points |
|
Choices |
For My Friends |
Top: +10 Energy, +5 Skill Points OR +30 Energy, +10 Skill Points Bottom: +30 Energy, +10 Speed, +5 Power, -5 Speed, Slow Metabolism status |
|
Date |
Is Relaxing Being Spoiled? |
Top: +10 Stamina Bottom: +10 Wit |
|
Date |
Dispel Your Anxieties |
Top: +10 Power Bottom: +5 Speed, +5 Guts |
|
Date |
Let’s Share |
Top: +10 Stamina Middle: +10 Speed Bottom: +10 Power |
|
Date |
Rough Massage! |
Top: +10 Guts Bottom: +5 Speed, +5 Wit |
|
Date |
Stargazing is Better Together |
Top: +5 Power, +5 Guts Bottom: +10 Stamina |
|
Secret |
After the Sumire S: Short of Breath |
+3 to 3 random stats, +30 Skill Points, Under the Weather status, +4 Yayoi Akikawa bond |
|
Secret |
After the Satsuki Sho: A Spring Miracle |
+10 to 1 random stat, +45 Skill Points, -15 Energy, +4 Yayoi Akikawa bond |
|
Secret |
After the Japanese Derby: A Super-Umamusume Feat?! |
+10 to 1 random stat, +45 Skill Points, -15 Energy, +4 Yayoi Akikawa bond |
|
Secret |
After the Kikuka Sho: Triumph of Bonds! |
+3 to all stats, +45 Skill Points, cure Under the Weather status, , get Shining Brightly status, +4 Yayoi Akikawa bond |
|
Special |
Bonus at the start |
+120 Skill Points |
|
Special |
Failed Training (Get Well Soon!) |
Top: -1 Mood, -5 to the last trained stat, Practice Poor status (random) Bottom: Either -1 Mood, -10 to the last trained stat, Practice Poor status (random) OR Practice Perfect. |
|
Special |
Failed Training (Don’t Overdo It!) |
Top: +10 Energy, -2 Mood, -10 to the last trained stat, -10 to 2 random stats, Practice Poor status (random) Bottom: Either -3 Mood, -10 to the last trained stat, -10 to 2 random stats, Practice Poor Status OR +10 Energy and Practice Perfect status. |
|
Special |
Extra Training |
Top: +5 to the last trained stat, -5 Energy, heal a negative status effect (random), Yayoi Akikawa bond +5 Bottom: +5 Energy |
|
Special |
At Summer Camp (Year 2) |
Top: +10 Power Bottom: +10 Guts |
|
Special |
Fan Letter |
+1 Mood and +30 Skill Points |
|
Special |
Dance Lesson |
Top: +10 Power Bottom: +10 Guts |
|
Special |
New Year’s Resolutions |
Top: +10 Stamina Middle: +20 Energy Bottom: +20 Skill Points |
|
Special |
New Year’s Shrine Visit |
Top: +20 Wit Middle: All stats +5 Bottom: +30 Skill Points |
|
Special |
Acupuncture (Just an Acupuncturist, No Worries!) |
Option 1: 30 percent chance to get +20 to all stats OR 70 percent chance for -2 Mood, -15 to all stats, and Night Owl Status. Option 2: 45 percent chance to get Corner Recovery and Straightaway Recovery skill hints OR 55 percent chance for -20 Energy and -2 Mood. Option 3: 70 percent chance to get +12 to Max Energy, +40 Energy, and heal all negative status effects OR 30 percent chance to -20 Energy, -2 Mood, and get Practice Poor Status. Option 4: 85 percent chance to get +20 Energy, +1 Mood, and Charming status OR 15 percent chance to get -10 or -20 Energy, -1 Mood, and Practice Poor status (random). Bottom: +10 Energy |
|
Post Race |
Victory! (G1) |
Top: -15 Energy, +10 to a random stat, +45 Skill Points Bottom: -5 or -20 Energy, +10 to a random stat, +45 Skill Points |
|
Post Race |
Victory! (G2 and G3) |
Top: -15 Energy, +8 to a random stat, +35 Skill Points Bottom: -5 or -20 Energy, +8 to a random stat, +35 Skill Points |
|
Post Race |
Victory! (Pre Op and Op) |
Top: -15 Energy, +5 to a random stat, +30 Skill Points Bottom: -5 or -20 Energy, +5 to a random stat, +30 Skill Points |
|
Post Race |
Solid Showing (G1) |
Top: -20 Energy, +8 to a random stat, +45 Skill Points Bottom: -10 or -30 Energy, +8 to a random stat, +45 Skill Points |
|
Post Race |
Solid Showing (G2 and G3) |
Top: -20 Energy, +5 to a random stat, +35 Skill Points Bottom: -10 or -30 Energy, +5 to a random stat, +35 Skill Points |
|
Post Race |
Solid Showing (Pre Op and Op) |
Top: -20 Energy, +3 to a random stat, +30 Skill Points Bottom: -10 or -30 Energy, +3 to a random stat, +30 Skill Points |
|
Post Race |
Defeat (G1) |
Top: -25 Energy, +4 to a random stat, +25 Skill Points Bottom: -15 or -35 Energy, +4 to a random stat, +25 Skill Points |
|
Post Race |
Defeat (G2 and G3) |
Top: -25 Energy, +3 to a random stat, +20 Skill Points Bottom: -15 or -35 Energy, +3 to a random stat, +20 Skill Points |
|
Post Race |
Defeat (Pre Op and Op) |
Top: -25 Energy, +10 Skill Points Bottom: -15 or -35 Energy, +10 Skill Points |
|
Post Race |
Etsuko’s Elated Coverage (G1) |
+15 energy, +1 Mood, +10 to a random stat, +45 Skill Points, +500 Fans, and Etsuko Otonashi bond +15 |
|
Post Race |
Etsuko’s Elated Coverage (G2 and G3) |
+15 energy, +1 Mood, +8 to a random stat, +35 Skill Points, +500 Fans, and Etsuko Otonashi bond +15 |
|
Post Race |
Etsuko’s Elated Coverage (Pre Op and Op) |
+15 energy, +1 Mood, +5 to a random stat, +30 Skill Points, +500 Fans, and Etsuko Otonashi bond +15 |
|
Post Race |
Etsuko’s Exhaustive Coverage (G1) |
Top: Either -25 Energy, -1 Mood, +4 to a random stat, +25 Skill Points, and +10 to Etsuko Otonashi bond OR +15 Energy, +1 Mood, +4 to a random stat, +25 Skill Points, and +15 to Etsuko Otonashi Bottom: -20 Energy, +4 to a random stat, +25 Skill Points, +10 Etsuko Otonashi bond. |
|
Post Race |
Etsuko’s Exhaustive Coverage (G2 and G3) |
Top: Either -25 Energy, -1 Mood, +3 to a random stat, +20 Skill Points, and +10 to Etsuko Otonashi bond OR +15 Energy, +1 Mood, +3 to a random stat, +20 Skill Points, and +15 to Etsuko Otonashi Bottom: -20 Energy, +3 to a random stat, +20 Skill Points, +10 Etsuko Otonashi bond. |
|
Post Race |
Etsuko’s Exhaustive Coverage (Pre Op and Op) |
Top: Either -25 Energy, -1 Mood, +10 Skill Points, and +10 to Etsuko Otonashi bond OR +15 Energy, +1 Mood, +10 Skill Points, and +15 to Etsuko Otonashi Bottom: -20 Energy, +10 Skill Points, +10 Etsuko Otonashi bond. |

Umamusume: Pretty Derby – Best Mihono Bourbon Build
Mihono Bourbon is the first featured character in Umamusume: Pretty Derby, but she’s also one of the hardest to train.
