The dragon is one of two raids Ghost of Yotei Legends. This is much bigger than the story missions or invasions you may have already completed. It contains several puzzles, several encounters with enemies and a very challenging boss fight at the end. The whole raid can take an hour to an hour and thirty minutes. The guide below offers a complete walkthrough for the first raid and tips on how players can defeat the Dragon boss v at the end Ghost of Yotei Legends.
Players unlock after completing both raids Kaibyaku trophy and both raids also reward different cosmetic outfits for each class.

All Main Story Missions in Ghost of Yotei (Chapter List)
Ghost of Yotei's story is divided into three chapters and 23 main story missions. Here is the complete list of missions and information about the length of the game.
How to complete the Dragon Raid in Ghost of Yotei Legends
After starting the raid, go through Sulfur Canyons until you hit a pressure plate that activates a stone platform in front of you. One player must stand on the plate to activate the platform while the other climbs the wall to the left to find another pressure plate that activates the lantern. The other two players can then jump onto the platform and grab the other side.

There are two pressure plates to your left and right, and the two players who have crossed must stand on them to create a path for the players behind them.
When you reach the area with the door in the distance, to your right is a path leading to a slab that activates stone platforms leading to another slab to the left. Two players should cross over, deal with the Jubokko trees and stand on the isolated pressure platewhich is located a bit away from the four pressure plates at the base of the door. This allows the remaining two players to cross, after which they can each stand on the plates near the door and open it.

Through the door, players will encounter their first wave of enemies with several dragon soldiers positioned above as ranged attackers. They can quickly take down anyone they target, so head right or left immediately get behind rocks that act as cover.

You can then move further along these paths to reach an elevated area and deal with these enemies. Bo-Hiya enemies should be your priority as they can be particularly annoying. The next wave will start after you defeat the original enemies, and taking them out will allow you to regroup at the assembly point ahead.
Find all 10 pairs
Start
Find all 10 pairs
Regular Cover ArtClean Cover Art
You will get to Crashed accesswhere multiple enemies spawn, requiring you to deal with several waves. After clearing them you can equip Kami's Blessing gain Teleport yourself an ability that remains available for the rest of the raid. Use it to teleport across and activate the gathering point. Split into teams of two and teleport to the left and right portals to deal with the enemies in those areas.

As more waves appear, large projectiles similar to arrows will fall from abovethus creating red circular zones. These explode after a short time, so it's best to move out of the area. You can destroy them, but since they have high health and enemies will attack, it's usually better to ignore them.
Head to Jubokko garden. After clearing the trees, three players must stand on the pressure plates on the sides, allowing the fourth player to teleport to the stone platform. Head right, deal with more Jubokko trees, and stand on the saucer to open a teleport above your location, allowing other players to join you.
Next, head to the left area with more trees. Here, a saucer creates a platform and another saucer above it activates another platform that allows two players to advance. Once those players activate the plates, the remaining players can use the raised platform to cross by jumping between the platforms.
All four players must then stand on the plates behind the board Cursed Gate activate it. The gate spawns enemies periodically, but you can ignore them and focus on destroying the gate quickly. An archer can handle this effectively, or you can use throwable bombs that spawn nearby. Once the gate opens, continue through it to reach the Dragon Boss Arena.

To the left of the arena is a Edit class stoneallowing you to change equipment, upgrade weapons, or change class before combat. Even if your team gets deleted, you can come back here and adjust your settings before trying again. Once you're ready, activate the Gathering Point and watch the cutscene.

How to control emotions in Ghost of Yotei Legends
Want an emotion in Ghost of Yotei Legends? Here's how to use gestures, change them, and unlock more.
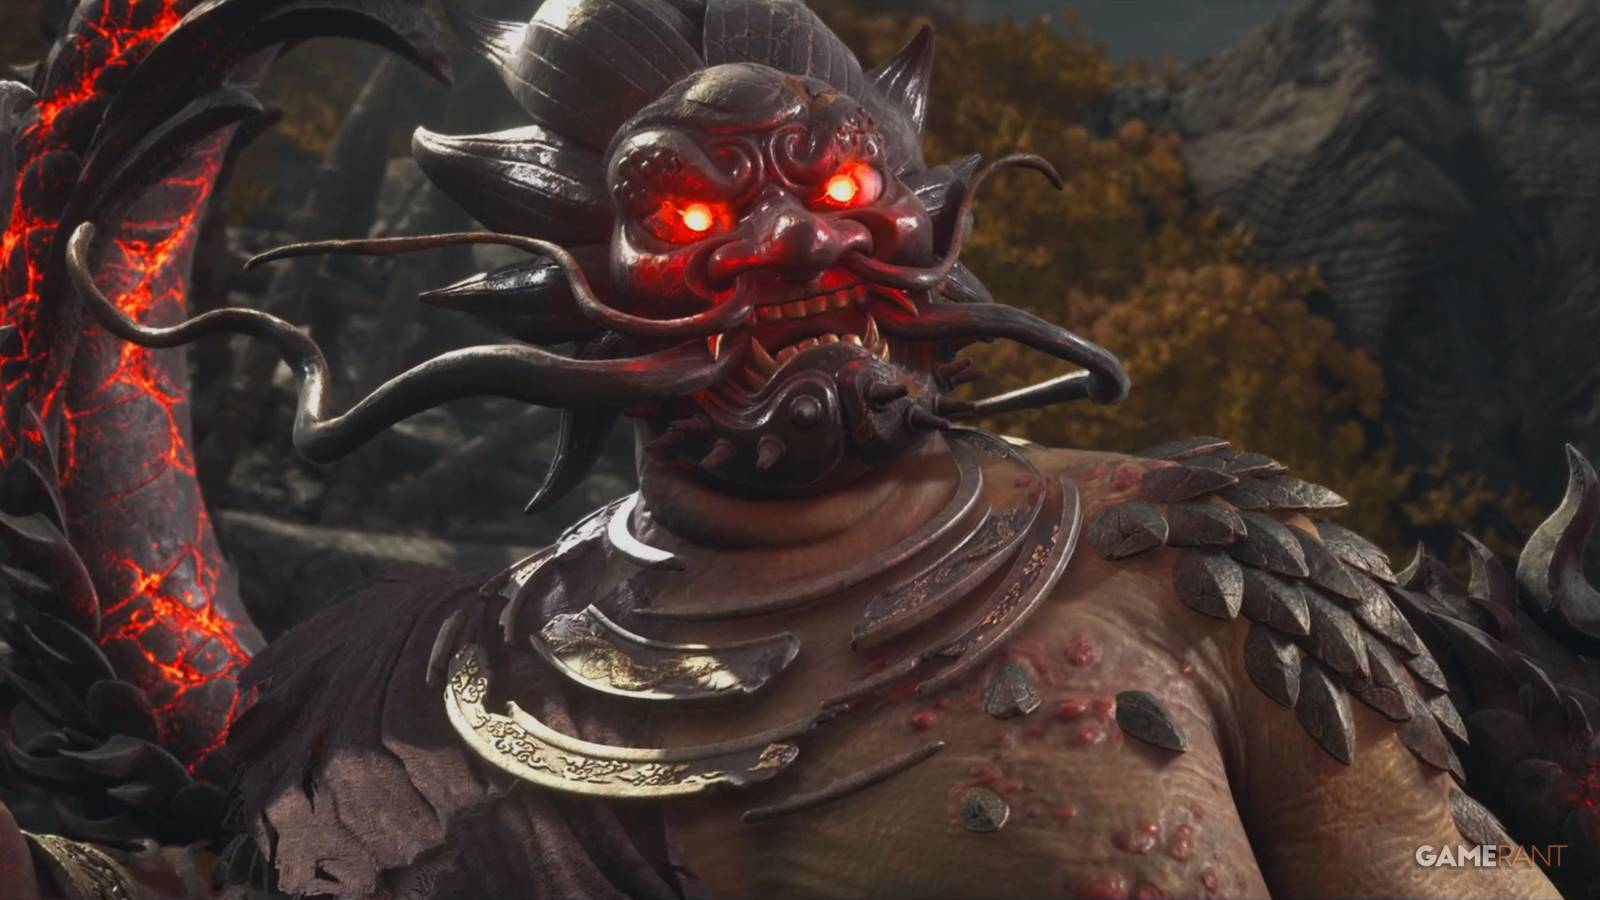
The Dragon Boss Fight in Ghost of Yotei Legends

When the boss fight starts, A dragon marks the player with a flaming skull above their head. This causes explosives to fall on them, creating small circular blast zones that detonate shortly after. Instead of scrolling repeatedly, the tagged player should continue running to avoid damage.
These bursts can damage teammates, so communication is key. A tagged player should move around the edges of the arenawhile others remain clear. The boss can tag multiple players at once, so tagged players should run in opposite directions to avoid overlapping paths. If you have a smoke bomb equipped, you can use it to instantly remove the tag.
Dragon attacks are similar to those of Oni enemies, requiring precise dodging to avoid unblockable strikes. Before attacking the boss itself, focus on taking out all the enemies the boss spawns. After reducing some of your health, The dragon summons several explosive arrows across the arena, leaving no safe place. In this case, all four players would have focus on destroying a single arrow quickly create a safe zone.
Shinobi is quite useful for this boss fight as they can use their class ability to cloak the entire team or turn invisible themselves when they go for a respawn so they don't get distracted.

Combat continues in a similar fashion, although the boss may occasionally tag all players at once. A good strategy is for two players to run along the edges while the other two move around the circular path in the middle. As the boss spawns more enemies, remember to always prioritize the Elite Bo-Hiya enemies, as they can fire explosives that cover a large area and can almost knock you from full health to zero if you're caught in blast range.

Once the boss is defeated, take the final teleporter and complete the raid by going through the Torii gate.


- Released
-
March 10, 2026
- ESRB
-
Mature 17+ / Blood and gore, drug references, intense violence, language, partial nudity, alcohol use
- Publishers
-
Sony Interactive Entertainment

