After picking up Six balls and hatching Ramia Everbirdyou will be ready to go Baramos lair inside Dragon Quest 3 remake. This dungeon will be the culmination of everything you've completed up to this point, and acts as a formidable skill check before venturing into the dark world beneath the main map. We will show you in this tutorial how to find and complete Baramos' lair Dragon Quest III HD-2D remake.

Related
Dragon Quest 3 Remake: How to get the Yellow Orb
Build 'Merchantburg' to collect Dragon Quest 3 Remake's Yellow Orb.
Baramos' Lair is home Arch friend of Baramoswhich looms over the first half Dragon Quest 3 remake as the main villain. You cannot enter this dungeon until you unlock it Ramia Everbirdwhich will fly you to the surrounding valley. You'll want your hero to be at least level 20 before taking on this challenge. Baramos's Lair contains a few important items that we'll cover in each section.
How to get to Baramos' lair in Dragon Quest 3 Remake

After completion Maw of the Necrogond and collecting silver ball, you will be able to unlock Everbird. To reach Baramos' Lair, you can either fly directly from the Everbird Shrine or from Sanctuary of Necrogond.
North of the Necrogond Shrine, you will see an island surrounded by mountains. Baramos' Lair is located here. You can fly Ramia directly to the location and drop you off outside near the dungeon entrance. Simply head north and enter the underground area as if it were a city.
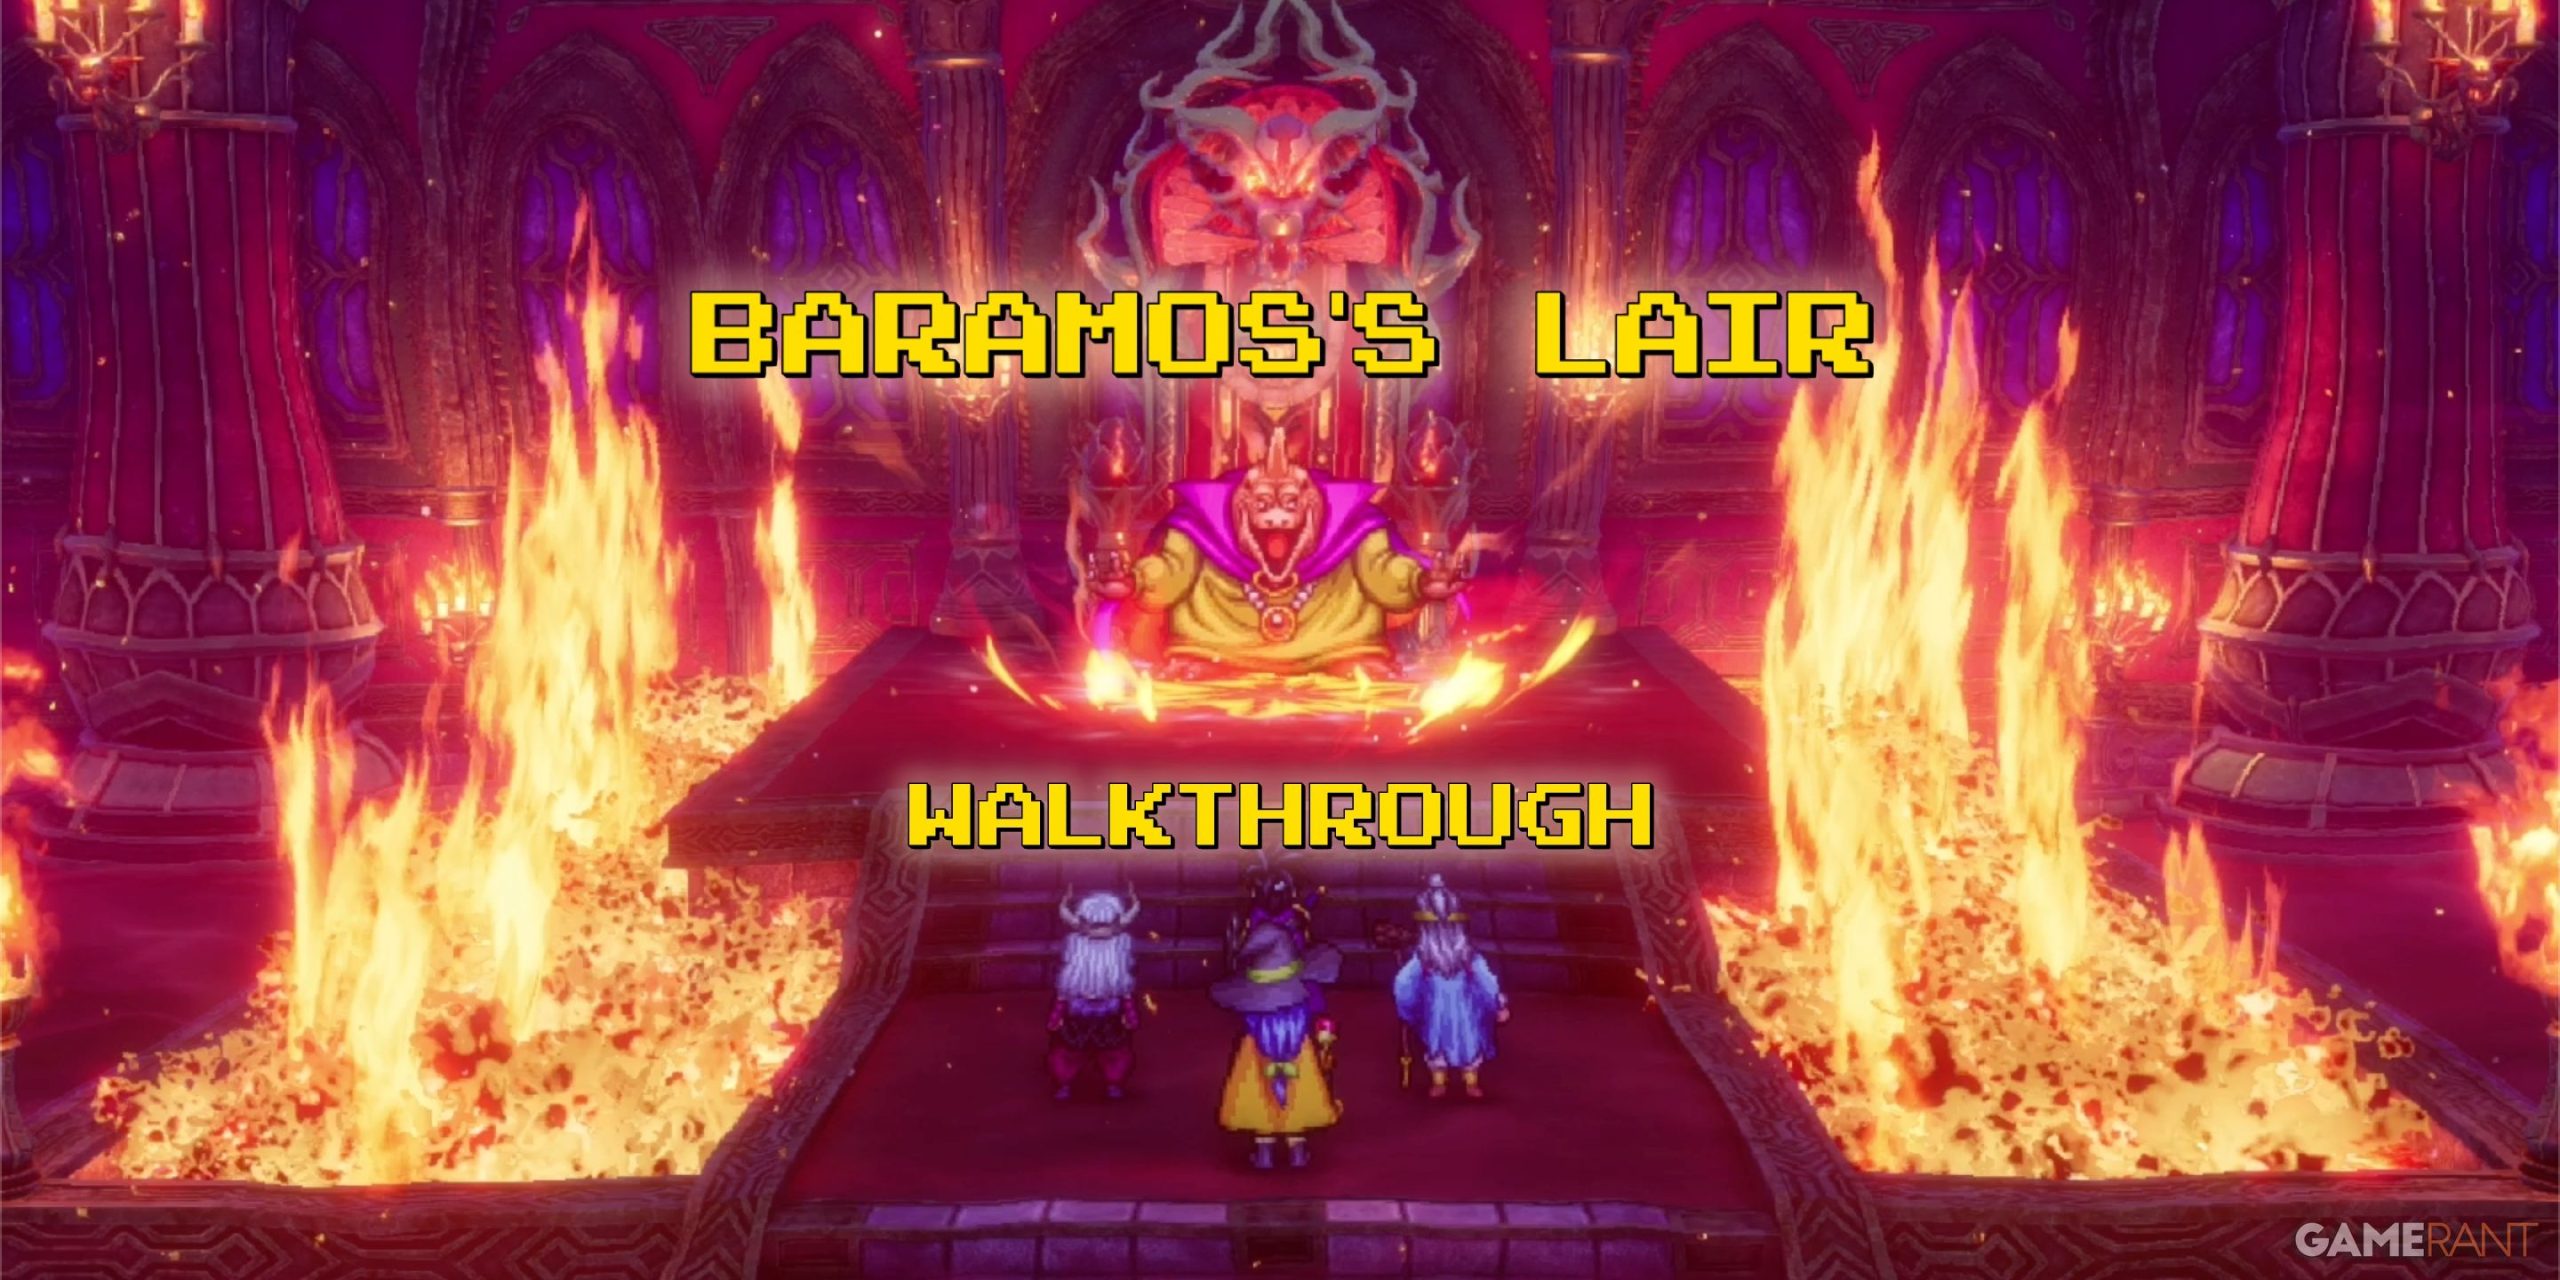
Walkthrough for Baramos's Lair – Dragon Quest 3 Remake
When you are first enter Baramos' lair A remake of DQ3you'll quickly find that it's unlike most of the main dungeons in the game. Instead of progressing up or down a single structure, you'll weave through indoor and outdoor areas with the ultimate goal of reaching Arcifiendo Baramos.
The first part you will encounter upon entering the main area is Baramos' Lair – Surroundings. This area is the main outdoor hub that you always get to when you leave any of the structures or passages. For this reason, we will simply list the main path to the boss fight chamber and then show the treasure locations on each floor separately.
How to get to the Baramos boss fight – main path:.
- Step 1: From the starting location, after entering Baramos' lair from the overworld, you will not enter the main door that leads to the “Entrance” area. Instead, you'll be moving along the east side of the castle towards the pool of water in the northeast corner of the map.
- Step 2: When you reach the stairs that lead up to the pool of water, turn left and continue west until you reach more stairs. Go up the stairs and then look for the door on the right. Enter the door.
- Step 3: After entering the door, you will find yourself in East tower. Make your way to the top and exit through the exit.
- Step 4: You will now be on the roof of the castle, which can be seen on Surroundings map. Make your way SW across the roof and then down the stairs to the lower level. Continue west, then go through the gaps in the double wall on the NW roof. Use the stairs in the NW corner of the roof.
- Step 5: The NW stairs lead down to Central tower. Head to the stairs in the southwest corner, use the Safe Passage spell to cross the electrified floor panels. Go down the stairs to what we will call B1 passage A.
- Step 6: When entering B1 passage Ayou'll see that you can continue south, or turn around and head east. You want to turn east, then fight your way to the stairs on the far east side of the map.
- Step 7: You will now enter the Southeast tower. You will see that you are on the southeast part of the Southeast Tower map. Head northeast to the only stairs available and take them up to the roof. You then head west along the roof for a short distance before placing another kit. This will take you to the western part of the Southeast Tower map. You will now need to cross the grass towards the NW and then take the only available door.
- Step 8: The door will lead to a small area in the northeast corner Central tower. You will only have one exit, a short distance from where you enter.
- Step 9: After you leave the Central Tower the second time, you will find yourself on Passage B1 B. It is a long, narrow corridor with a single entrance and exit. Make your way all the way north and head up the stairs.
- Step 10: You enter the The throne room. Head to the exit along the southern edge of the map, avoiding the floor panels.
- Step 11: After leaving the Throne Room, you will find yourself back on the Neighborhood map. The throne room is a large structure in the northwest corner of the map. From there, head east to the structure in the northeast corner that sits on an island in the lake. This is the location Baramos' Lairand where the boss fight takes place.
4:09 am

Related
Remake Dragon Quest 3: Theddon Jail Cell Solution (Green Orb)
Guide to solving the mystery of Theddon's prison cell in Dragon Quest 3 Remake.
All Treasure in Baramos's Lair – Dragon Quest 3 Remake
Treasure of the whole neighborhood:

-
Treasure 1 (chest): Prayer ring
-
Treasure 2 (Buried): Flowy dress
The Surroundings the map contains one of the Remake of Dragon Quest IIIFriendly monsters. The monster is an Armsand it was named for us Armstrong.
All Central Tower Treasures:

-
Treasure 1: Imitate (enemy)
-
Treasure 2: Dragon mail
All Southeast Tower Treasures:

-
Treasure 1 (chest): Unfortunate Helm
-
Treasure 2 (chest): Sage's Elixir
-
Treasure 3 (chest): Headsman's Axe
-
Treasure 4 (chest): Zombiesbane
To achieve three treasure chests in the SE section of the Southeast Tower map, you'll want to get to the Central Tower section (If you're not sure how to get to the Central Tower, see the main path steps above). From the Central Tower, head through the door in the SE corner of the chamber, then head east across the roof. Go down the stairs and you'll end up on a small platform that contains three chests.
All Treasures of Passage B1:

-
Treasure 1 (Buried): Mini medals (On the left side of the skeleton)
To reach this area, head to the northern part Entrance map. You will see a staircase that goes west to a lower level and east to an upper level. Take the west set and you'll end up on the west side of what we'll call B1 Passageway C (to distinguish it from the two sections of the map with the same name that are located along the main path).
Treasure of the entire throne room:

-
Treasure 1 (Buried): Mini medals (before the throne)
How to beat Baramos – Dragon Quest 3 Remake

The first time you face Baramos in A remake of DQIIIthey will probably be the toughest enemy you have faced up to that point. Like many other difficult bosses in the game, you'll need to make sure you have a good strategy and level correctly.
What is Baramos Weak for in Dragon Quest 3 Remake?
Knowing Baramos' weaknesses is key to a good fight strategy. Baramos is weak to the following spells:
- Crack (All ice based spells)
- Woosh (All wind based spells)
Unlike many bosses, Baramos is he is not weak to Zap in any way. At this point you should have some higher level spells like Kacrack and Swoosh. The hero can't cast any of these spells, so you'll want to use them to heal and have two spellcasters focus on attacking, or you can use Shock slash.
Make sure you always have at least one specialist healer. Even when properly leveled, Baramos can get parties going incredibly quickly. Try to stay on top of healing each round. There is no advantage to defeating Baramos quickly. Better to focus on survival than taking them out quickly.

Related
Dragon Quest 3 Remake: Jipang & Orochi's Lair Walkthrough (Purple Orb)
Enter Jipang and defeat the evil Orochi to obtain Dragon Quest 3 Remake's Purple Orb.
Every Monster in Baramos's Lair – Dragon Quest 3 Remake

|
Monster name |
Weakness |
|---|---|
|
Arms |
On |
|
Boreal snake |
TBD |
|
Infanticore |
TBD |
|
Leger-De-Man |
TBD |
|
Living sculpture |
No |
|
Liquid Metal Slime |
No |
|
Silhouette |
It varies (everyone is different) |

- Released
-
November 14, 2024
- Engine
-
Unreal Engine 4
- ESRB
-
E10+ for everyone 10+ for alcohol, fantasy violence, mild gore, mild speech, obscene themes
- Steam Deck compatibility
-
Verified
- OpenCritic rating
-
Mighty
