
1
The trial of a fool begins innocuously enough with A difficult fool and a sheltered fool. Then two armored squits appearwhich follows a pair of Shielded Fools and a Primal Aspid.
This wave will finish with two Winged Fools and two Sharp Baldurs. Nothing too strenuous yet, as any Hollow Knight vet will have faced a series of enemies like this before.
Favor flying enemies and make some space between enemies if you need to heal.
2
The platforms will rise and a pair of Sturdy Fools along with a Primal Aspid will appear. Don’t bother with fools as the spikes will soon pop out of the ground and kill them. Focus on Aspid and wait for the next wave.
3
The ceiling will be slightly lowered and three Battle Obbles and a Winged Fool will appear. Remove the fool and stay out of the way of Obbles projectiles.
When they’re all dead two Furious Vengeflies will come. They are not very tough, but they are they explode when they die. Kill one Vengefly at a time and see for yourself avoid their explosive corpses.
4
Platforms and spikes drop back into the ground and a pair of Heavy Fools is born. Do not engage with them as the Belflies series will begin to appear and explodes.
They’ll probably end up killing both of the Fools, so just they cling to the walls and watch the fireworks.
5
The next few waves include Death Loodles, which are more deadly than their silly name suggests. They he jumps around the arena and can jump at you pretty fast from the walls.
They’re mostly pretty slow, so just hit them with your nails as they spawn and try not to be surrounded. You will to face the trio of them start in this wave.
6
The platforms rise again and five Death Loodles appear. Avoid their attacks and destroy them all quickly.
7
Just three more Death Loodles. Kill them as soon as they spawn.
8
Four small, stacked platforms rise together with spikes. Several flying enemies appear in it. Every time you kill one, another will come in his place.
First there are two Armored Squitsthen three primordial aspsand winged fool. Try not to stay in the middle of these platforms as this is a good way to get caught between the bad guys.
After all are dealt with, four Garpeds will move around the arena occupying the space between each of the platforms. These aren’t actually enemies, as they can’t be harmed. They just are huge obstacles to avoid.
When you go past one of them, that platform should be safe to stand on for a while, which will allow you to a chance to heal if you need it. When the Garpeds are gone, another winged fool and a pair of Armored Squits will fly in.
9
Val starts the trio that he consists of a protected madman, a difficult madman, and a primal aspid. After you kill one of them, you will have to fight against the praying mantis traitorwhich moves quickly and has jumpy attacks.
then, the flying praying mantis of Petra will be born, who will be shoot the spinning blade which acts like a boomerang. Then you will meet two Mantis Petras and Mantis Traitorwhich follows the praying mantis Peter and the fierce fool.
Then things start to get wild two Soul Twisters to materialize. They will start teleporting around and throwing projectiles on you. Once thrown from the air, three Bugs will pop out of the groundbut they are fairly useless so that shouldn’t be a problem.
Watch the area above you, as The Soul Warrior will curl up and try to land on your head. This guy will keep teleporting and trying to hit you sword attacks and sideways sword strikes. If you get too far away from it, it will also throw projectiles.
Soul Warrior will too summon ghost-like nonsense — which is like a flying version of the wrong enemy — every now and then to screw with you. Stay on your toes and run away from the attacks of the Soul Warrior as much as possible.
10
More platforms and spikes come out of the ground. The first enemy will be a Volt Twisterwho will create patches of electricity that appear wherever you stand.
Besides, it doesn’t do much, so it just attack him when he’s not conjuring lightning and avoid shock or landing on spikes.
After he is defeated, a Soul Twister will appearwhich follows two more Volt Twisters and one more Soul Twister.
11
The spikes and platforms move away and you’ll fight a Soul Twister and a Soul Warrior. Kill Twister first.
12
The walls will now close in on you. At first glance, this does not seem so bad, because you just have to fight the winged fool and the strong fool.
Things start to heat up quickly, as two Little Mawleks to show off. these move fast and spit orange balls of infection on you. As soon as they spawn, start spawning them with your fingernail. After the first pair of Mawleks, another pair will appear along with a winged fool.
After that, A pensive Mawlek enter the fray. That is a larger, taller version of the Lesser Mawlek. He will he spits out several balls, clawing at you if you get too close — which is likely to happen due to lack of space — and it will jumps into the air and tries to land on you.
He will too spit out several balls at once which are almost impossible to avoid unless jump through it with the shadow cloak. Hurry up and try to keep your distance.
13
The walls close completely, leaving you no room to move and a Garpede starts coming at you from above. The walls will move back a bit so you can avoid the giant bug.
Then you will have to avoid multiple Garpeds that fall on you from the ceiling. This part of the wave is quite an obstacle course where you just have to avoid the Garpeds.
14
The walls will give way slightly and the spikes will rise from the ground. Now you have nothing to stand on, so hopefully you’ve recovered from this wave. The only way to avoid landing on spikes is they cling to the walls for dear life.
Now you will fight a winged fool and two armored squithswhich follows Armored Squit and Primal Aspidthen Armored Squit and Mantis Petrathen four Battle Obblesand finally, a pair of winged fools.
Spells can be very handy here since you won’t be able to heal anyway, so you might as well use your soul. Other than that, it’s all you can do jump on those enemies. Be careful not to waste jumps and double jumps or you will end up on spikes.
15
The ceiling will now be lowered to give you even less space. They only exist two Armored Squits to fightbut even that is a challenge in this confined space.
16
Fortunately, the walls and ceiling retract to reveal platforms. However, you still have to fight 14 Death Loodles at once, so it’s not like a walk in the park. But if only stay on the platforms and avoid their attacksmost of these guys will finish they kill each other on the spikes below.
17
In this wave, you will encounter enemies in this order:
- the heavy fool and the strong fool;
- the traitor mantis, the winged fool, the petra mantis and the shield fool;
- Soul Twister, another Shielded Fool, Volt Twister and Heavy Fool;
- a pair of Armored Squits and a pair of Sharp Baldurs;
- a group consisting of Heavy Fool, Winged Fool and Shielded Fool;
- and the last Sturdy Fool.
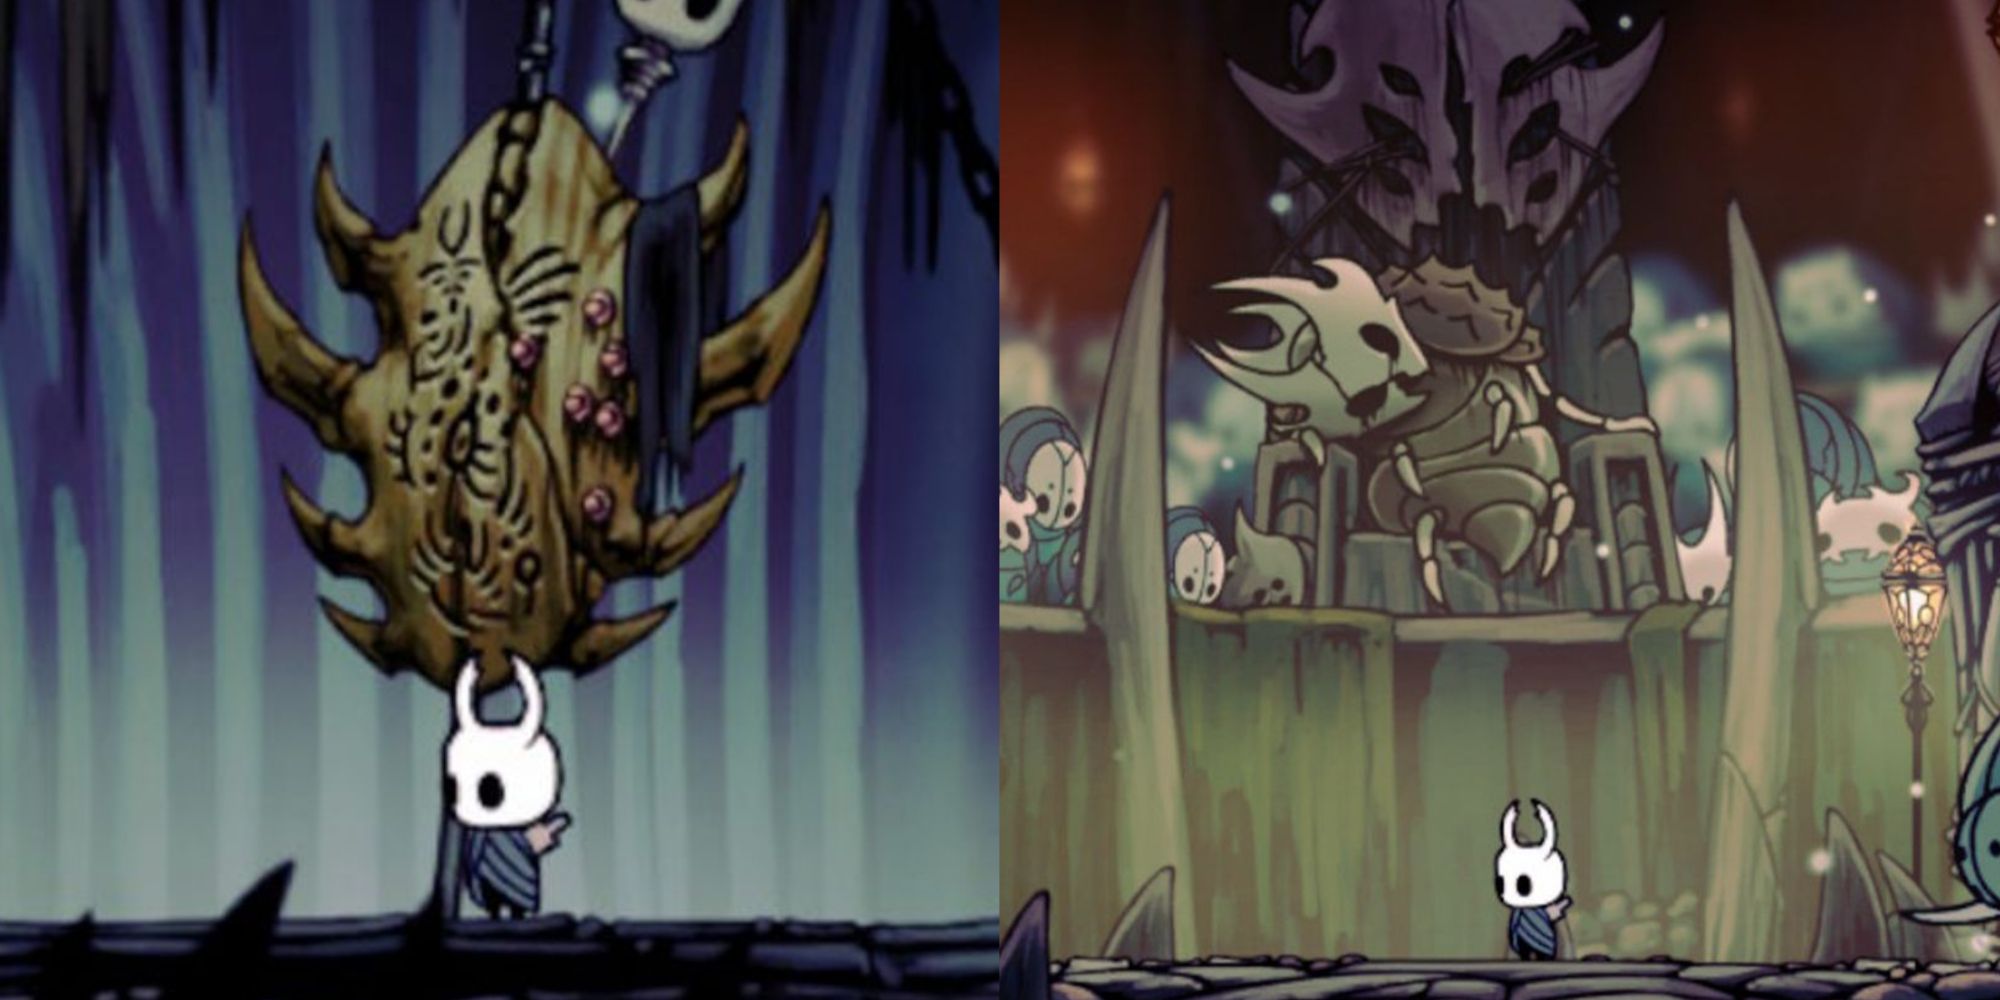
There is one last enemy to deal with and that is the boss fight. That is God the Tamer, a warrior who rides into battle atop a snail-like beast.
The God Tamer isn’t too bad since their attacks mostly include they jump into the air and try to spear you. The real problem is a beast that spits out several orange balls of infection and then curls up into a ball, rolls towards you and bounces off the wall and tries to land on you.
While the God Tamer is an easy target if focus all your attacks on the beast and kill it, the Tamer God will simply give up, allowing you to finally complete Trial of the Fool.