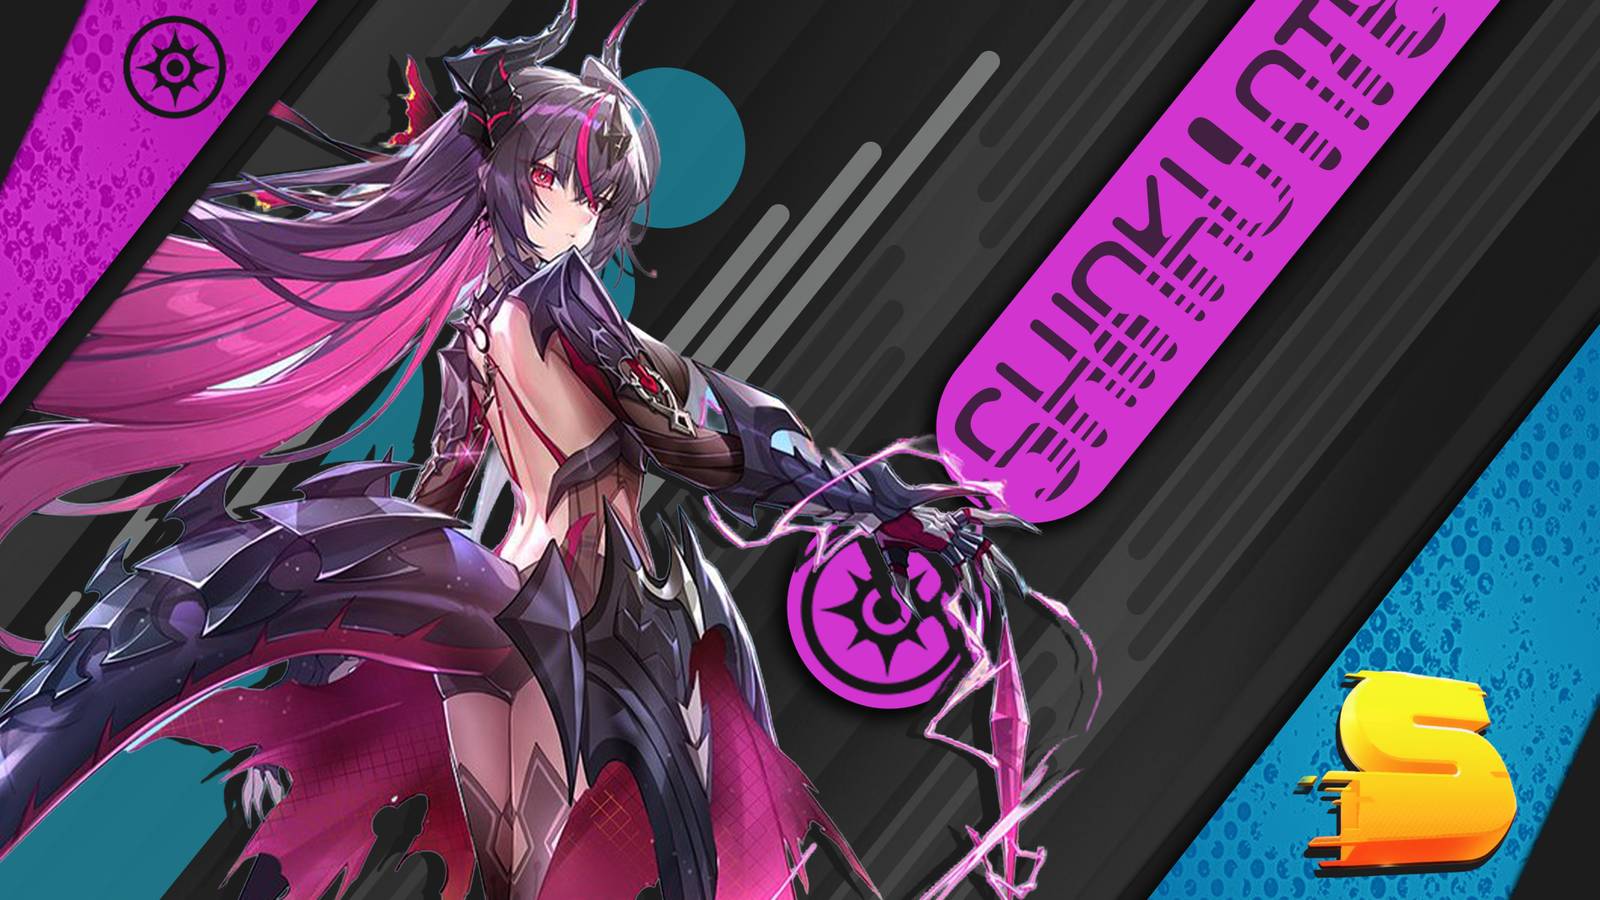
Building a strong Shinku team NTE revolves around pairing her with characters that can extend and improve Charge's reaction, which she does Hathor and Nanally he fits in perfectly with his team. She also needs to have her own build ready to deal maximum DMG after casting her Ultimate. So it's better to build it using Blushing Mirage Arc next to Lost Radiance Cartridge Set. This way you'll have your main DPS built to go all out during her Ultimate. In this guide, I'll go over everything you need to know about Shinka after thoroughly testing all of her team options and builds.
Overview of Shinku's best lineups

|
The best arcs |
|
|---|---|
|
The best cartridge |
|
|
The main statistics of the best cartridge |
|
|
Best Substats |
|
|
The best team |
Shinku + Hathor + Zero + Nanally |
Shinku Best Arcs

Blushing Mirage
|
Statistics |
|
|---|---|
|
T1 effect |
Increases ATK by 20%. When Ultimate is cast, it increases the wearer's Cosmos DMG by 32% and allows the wearer to ignore 12% of enemy DEF for 20s. Resets the duration on restart. |
Blushing Mirage is Shinku's signature Arc in NTE. It's her best Arc because it maximizes her DMG after casting Ultimate, which is where most of her DPS comes from. Shinku also provides high base ATK, Crit Rate and ATK% which are the stats I recommend for her build.
Fluff of Ferocity
|
Statistics |
|
|---|---|
|
T1 effect |
Increases wearer's CRIT DMG by 4% for 10s after landing a critical hit, up to 10 stacks. It resets the duration on restart. |
Fluff of Ferocity works well with Shinku as it gives her Crit DMG and ATK% from her effects. However, she still needs to have a decent Crit Rate to use the Crit DMG buff effectively. So only consider Fluff of Ferocity if you've already built up a good amount of Crit Rate on it.
The time will come
|
Statistics |
|
|---|---|
|
The T5 effect |
Gives the wearer 18% ATK, 18% DEF, and 18% HP if the team has at least 3 different Esper types. |
A Time Will Come mostly works as a F2P stat stick for Shinka due to his Crit Rate substat. Other than that, it doesn't really add anything except up to 18% ATK buff if Shinku's team has three different elements.
Shinku's best console
The best set of cartridges

Lost glow
|
Effect |
epic (2) |
Cosmos DMG +10% |
|---|---|---|
|
Legendary (4) |
Ignores 25% of enemies' DEF for 20s after the wielder casts Ultimate. The effect does not stack. |
Lost Radiance works perfectly with Shinku as it adds 10% Cosmos DMG and allows her to ignore 25% of enemies' DEF after casting her Ultimate. Add the 12% DEF shred Shinku gets from her signature Arc to the 25% she gets from the Lost Radiance set, and Shinku becomes insanely powerful after casting her Ultimate during combat.
The best set of modules

Shinku gains 16% Crit DMG for each Type III module you build her with. After testing with several module sets, I found that you can build her with a total of four Type III modules, two from her Lost Radiance set, and two for free afterwards. This means she should get a total of 64% more Crit DMG after you build Shinku's Module set.
Shinku's best teams

Shinku has a team that works perfectly with her kit. You can make it a F2P team if you replace Nanally with Jiuyuan, but it will reduce the team's overall DPS slightly. You can also replace Nanally with Iroi later on.
Shinku + Hathor + Zero + Nanally

Shinku's best team consists of three Sub-DPS characters without having any support or support units. Even though the team doesn't have healers or active buffers, it still works because I found each character to be a perfect fit to make this team's rotation fluid and effective.
Character roles
|
TL;DR |
|---|
|
1. Shinku regenerates the team's energy from his charge. 2. Hathor extends Remora's debuff to keep her Charge reaction longer. 3. Zero triggers Blossom's quick reaction with Nanally, greatly reducing the team's rotation time. 4. Nanally buffs Blossom's reaction, allowing her to attack more often, resulting in more energy regeneration from Shinku's Charge Enhancement passive. |
Shinku's Charge Enhancement passive is what makes Nanally work as a Sub-DPS by energizing her when she's off the field. This allows Shinku to also act as another Sub-DPS on this team. Both Shinku and Nanally buff Blossom and Charge reactions to constantly replenish the team's energy, while the two then take turns unleashing their ultimate and basic attacks. You can substitute Nanally for Jiuyuan as it also buffs Blossom's reaction and gives more energy to the team. The only difference is that Nanally deals significantly more DMG than Jiuyuan when active, while Jiuyuan offers some off-field DPS.
Hathor is the most important member of this teamas it increases Remora's duration from five seconds to around 12, giving Shinku enough time to fill up the team's energy for their Ultimates. It's hard to replace her with other Lakshana characters as the team will barely benefit from Shinku's Charge Enhancement passive as enemies will still lose their Remora status during combat.
Zero is another key character on this team as he can trigger Blossom's reaction with Nanally without them having to slowly cycle Esper. This is due to their skills filling it instantly and significantly reducing the turn time. They are a F2P character, so there is no need to replace them with another that has the Cosmos element, as no other Cosmos unit offers the same advantage in this team.
Team rotation
|
TL;DR |
|---|
|
1. Start with Shinku: Complete her Esper Cycle. 2. Switch to Hathor: Use her Ultimate, then Skill. 3. Switch to Zero: Use their Ultimate, then Skill. 4. Switch to Nanally: Use her skill, Ultimate, then Basic Attacks for about six seconds. 5. Switch back to Shinka: Use her Ultimate, then Basic Attacks and Skill throughout her Ultimate to refill her Esper Cycle. |
This team's Shinku rotation starts with him completing his Esper Cycle. This allows her to trigger a Remora reaction on enemies when you switch to Hathor. Continue with Hathor's Ultimate and Skill. Zero can instantly trigger an Esper reaction with his skill, so release their Ult before using their skill and triggering Blossom's reaction with Nanally.
After using Nanally's Skill and Ultimate, you can continue to deal DMG with her basic attacks until her Underboss is gone, which takes about six seconds, so keep Nanally on the field during this window. Then switch to Shinka to release her kit and complete your Esper Cycle again. During each fight, the passive energy regeneration that Shinku triggers will replenish the team's energy, keeping the rotation between all team members flowing smoothly.

- Released
-
April 29, 2026
- Developers
-
Studio Hotta
- Publishers
-
Perfect world entertainment
- Engine
-
Unreal Engine 5
- PC release date
-
April 29, 2026
