Raids are the latest game mode to be introduced Fallout 76 with the Gleaming Depths update. Raids are by far the hardest thing a player can do in the game. Even if you are part of a team, completing the raid is quite a challenge. This mode is aimed at teams of high level players who are well armed and well protected.
Related
Fallout 76: How Camp Pets Work
If you want to know more about the pets in your CAMP in Fallout 76, this guide can help you.
Since this is such a difficult series of missions to complete, the rewards are top notch. Not only will players get loads of XP, Scrip, and other standard items, but they'll also get some new and unique rewards. This guide will go over everything there is to know about completing raids Fallout 76.
How to start a raid in Fallout 76
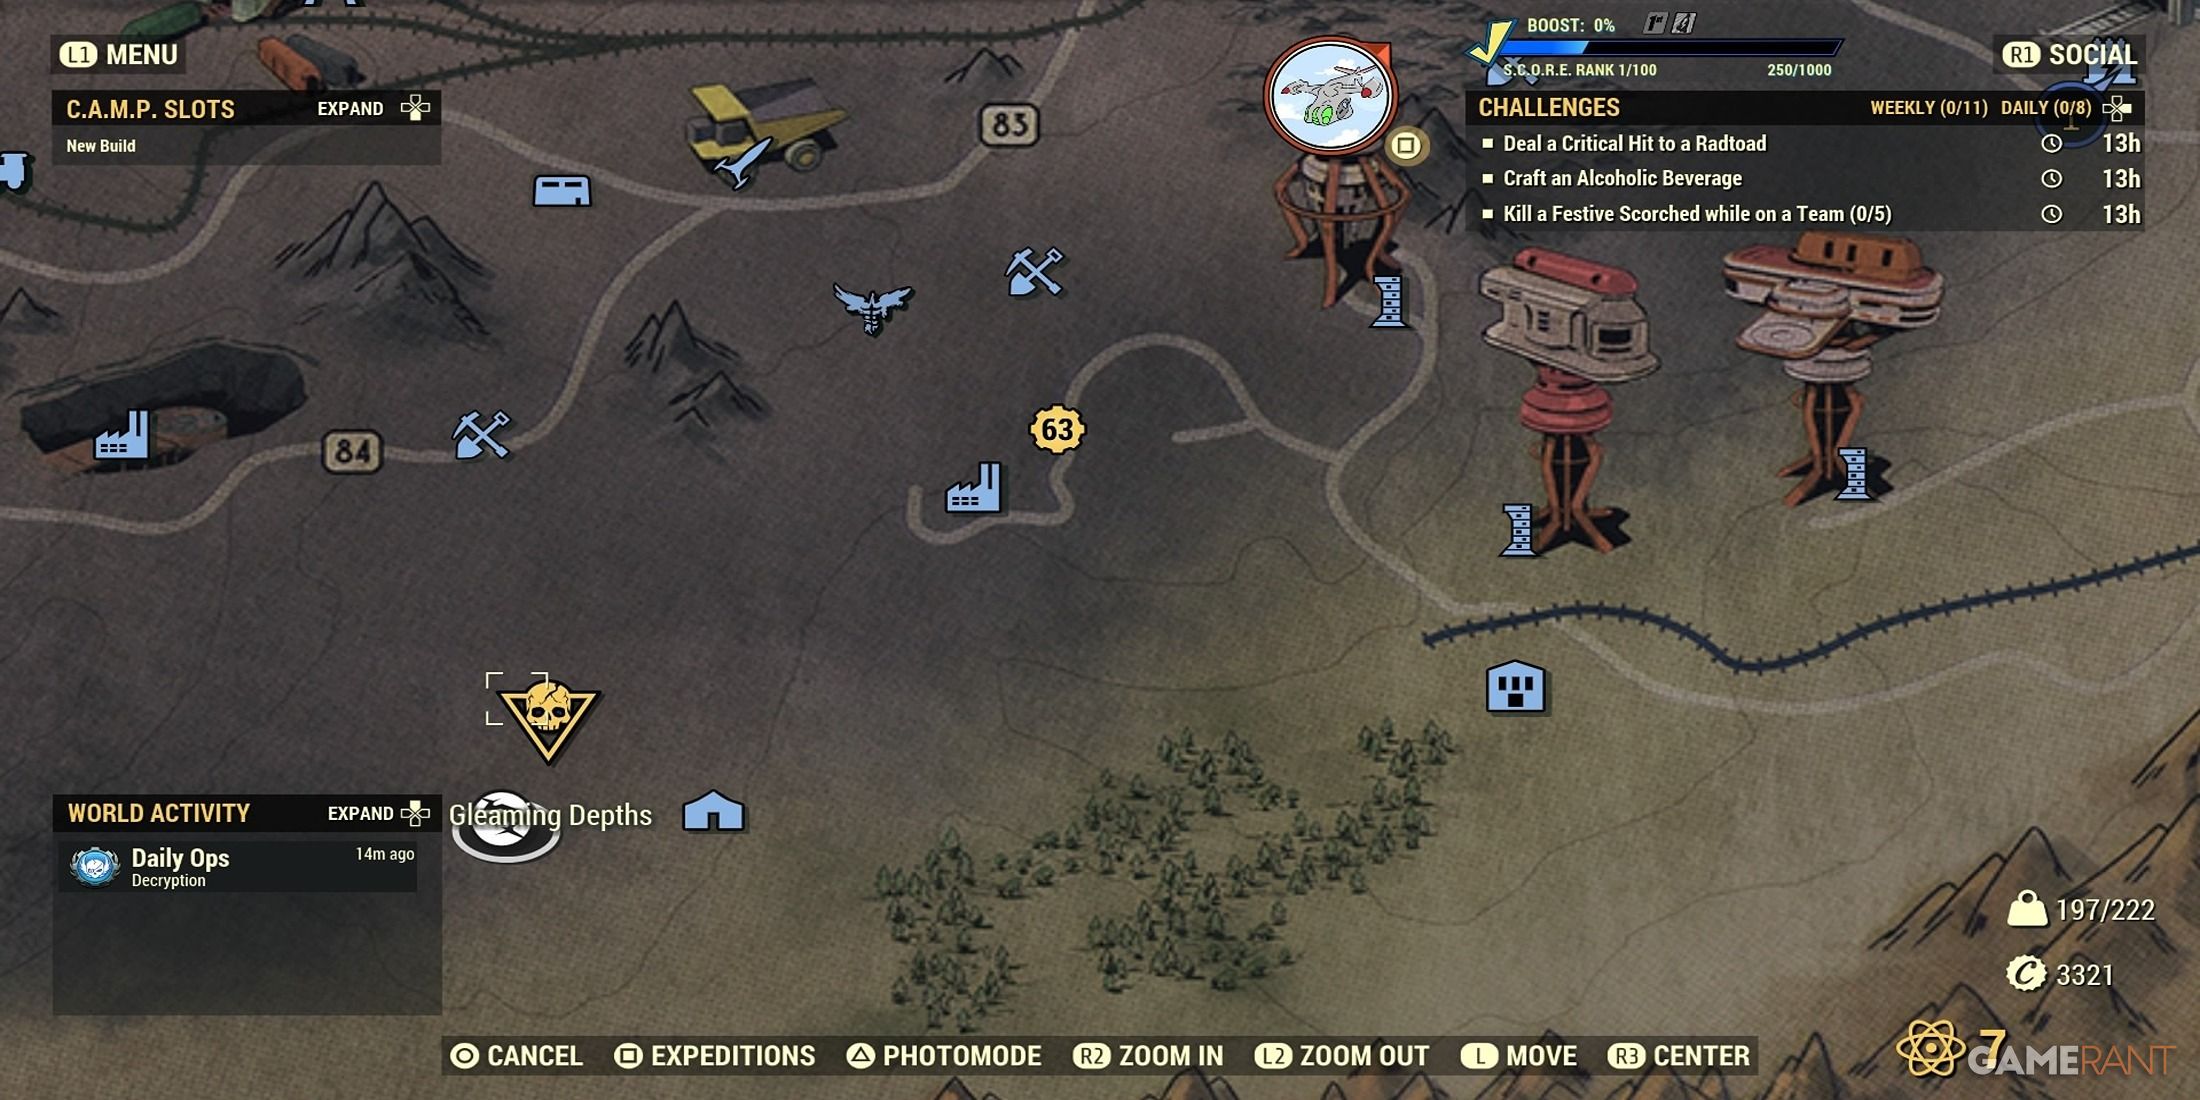
Unlike other missions such as Daily Ops and Expeditions, there is no special menu for completing raids. To start the raid, you'll need to get to the Gleaming Depths. Fortunately, this place is easily accessible. Open the map and scroll down. It's hard to miss because it has its own unique skull triangle icon. Once there, simply head inside and start your raid.
While you can go right in, best to go as part of a team. There is a new team option dedicated to raids. If this is your first raid, then it's best to join someone else's team instead of leading one yourself. Raids are incredibly challenging. If you die repeatedly and have to start over and over again, then some of your teammates may leave and join another team. To avoid this, it's best to participate as a party member rather than a team leader until you feel confident enough to lead a party through a raid.
How to complete a raid in Fallout 76
Once you enter the Gleaming Depths, the raid will automatically start. Nothing will happen right away because you will have to get to the first area. Completing a raid from start to finish involves completing five stages. Each stage is designed to be progressively more challenging. If you die during a raid segment and your teammates can't complete it without you, that part of the mission will fail and you'll have to try again. To increase your chances of successfully completing the raid, be sure to bring plenty of bullets and plenty of Stimpaks, and use your best weapons and set of armor. Each of the five sections you will need to complete is detailed below.
Stage 1 – Defeat the EN06 guard
Once the team leader/you press the red button in the first open chamber, the EN06 Guardian will activate. This is a tank robot turret with lots of health and incredibly powerful attacks. Players who don't have a lot of damage resistance will die very quickly. To increase your chances against this enemy, do everything you can to increase damage resistance. Ideally, you should be wearing a full set of quality Power Armor with good legendary effects.
Defeating the EN06 Guardian is not easy. The center of the room will fill regularly and blue electric water source which will cause further damage to the player. It's best to stay behind the pillars and use them for cover. However, the EN06 Guardian can damage the pillars and some of its explosive damage can still get to you while you're in cover.
You can't use melee attacks against the EN06 Guardian, so you'll have to use a ranged weapon. To take out a Guardian, you must first destroy its shield generator. This is attached to its back. Once you destroy it, the EN06 Guardian will be vulnerable to attack for a limited time. After a while, the room will be engulfed in flames. Fortunately, one of the three soundproof doors opens. Once the door opens, head towards it. From there shoot the EN06 Guardian.
Try to damage the robot as much as possible. Make sure you are on the outside of the door to avoid being trapped inside when the door closes and the room inside is engulfed in flames. Then repeat the process until the EN06 Guardian is destroyed. It is important to realize this each of the three anti-noise doors opens only once, so you'll be able to destroy his shield and attack him three times before the mission fails.
Related
Fallout 76: 8 new changes introduced with the Gleaming Depths Update
As with previous updates, the Gleaming Depths update for Fallout 76 brings a lot of new and welcome changes to the game.
Phase 2 – Fill and defend the drill
The next phase is not as dependent on damage output as the first item. This phase is all about speed and protection. You will have to defend the practice from an endless onslaught of Mole Miners. While you're doing this, you'll also need to find fuel canisters and fill the drill with fuel. However, things are not that simple. The room that contains the drill is the “safe room”. While the Mole Miners enter this room to try to destroy the drill, the Ultragenetic Mole Miners cannot gain access.
Ultragenetic Mole Miners cannot be killed. Not only that, but they can kill you in one hit.
- These special mole miners patrol the corridors around the drill.
- Fuel is found in these corridors.
- The fuel is spread over a relatively large area.
- Each player can only carry one fuel canister at a time.
To finish, the team should split up. A couple of players should stay in the practice room and fend off the Mole Miners, and the remaining two players should run and exit the “safe room” to look for fuel canisters. Just make sure you don't get hit by the Ultragenetic Mole Miners as they will chase you as soon as you leave the “safe zone”.
Over time, the mole miners that can enter the 'safe room' will become stronger. So this mission is all about speed. Filling the drill requires you and your team to deliver a total of 15 fuel canisters. Once the drill is fully charged, provided it hasn't been destroyed, you'll get some rewards and advance to the next stage.
Stage 3 – Defeat Enclave Squad Epsilon
The third stage involves you and your team against Enclave Squad Epsilon. This team consists of three powerful super soldiers. Each of them is equipped with a different type of weapon:
- Bloodhound has a laser chainsaw
- Feature uses the Cryogenic Grenade Launcher
- Vulture uses a gauss rifle
They are all incredibly strong and have a lot of health. Unfortunately, you cannot deal any damage to Enclave Squad Epsilon until you destroy each of their Ultragenetic Shield Generators. A generator is located in the room behind each of the soldier pods. Once you take down the generators, Bloodhound, Lynx and Vulture become vulnerable.
However, to add even more chaos to the mission, Eyebot repairs begin to multiply. These robots will attempt to repair the generators. Watch out for them and take them out immediately – they can repair the generator incredibly quickly.
The order in which you take down the soldiers does not matter in terms of completing the mission. However, many players try to take down the Lynx first. This is because Lynx's slow effect makes players very vulnerable. Once he's out of the way, the rest of the mission will be a bit easier. Simply kill the remaining two soldiers and move on to the next stage.
Stage 4 – Survive the Ultragenetic Horde
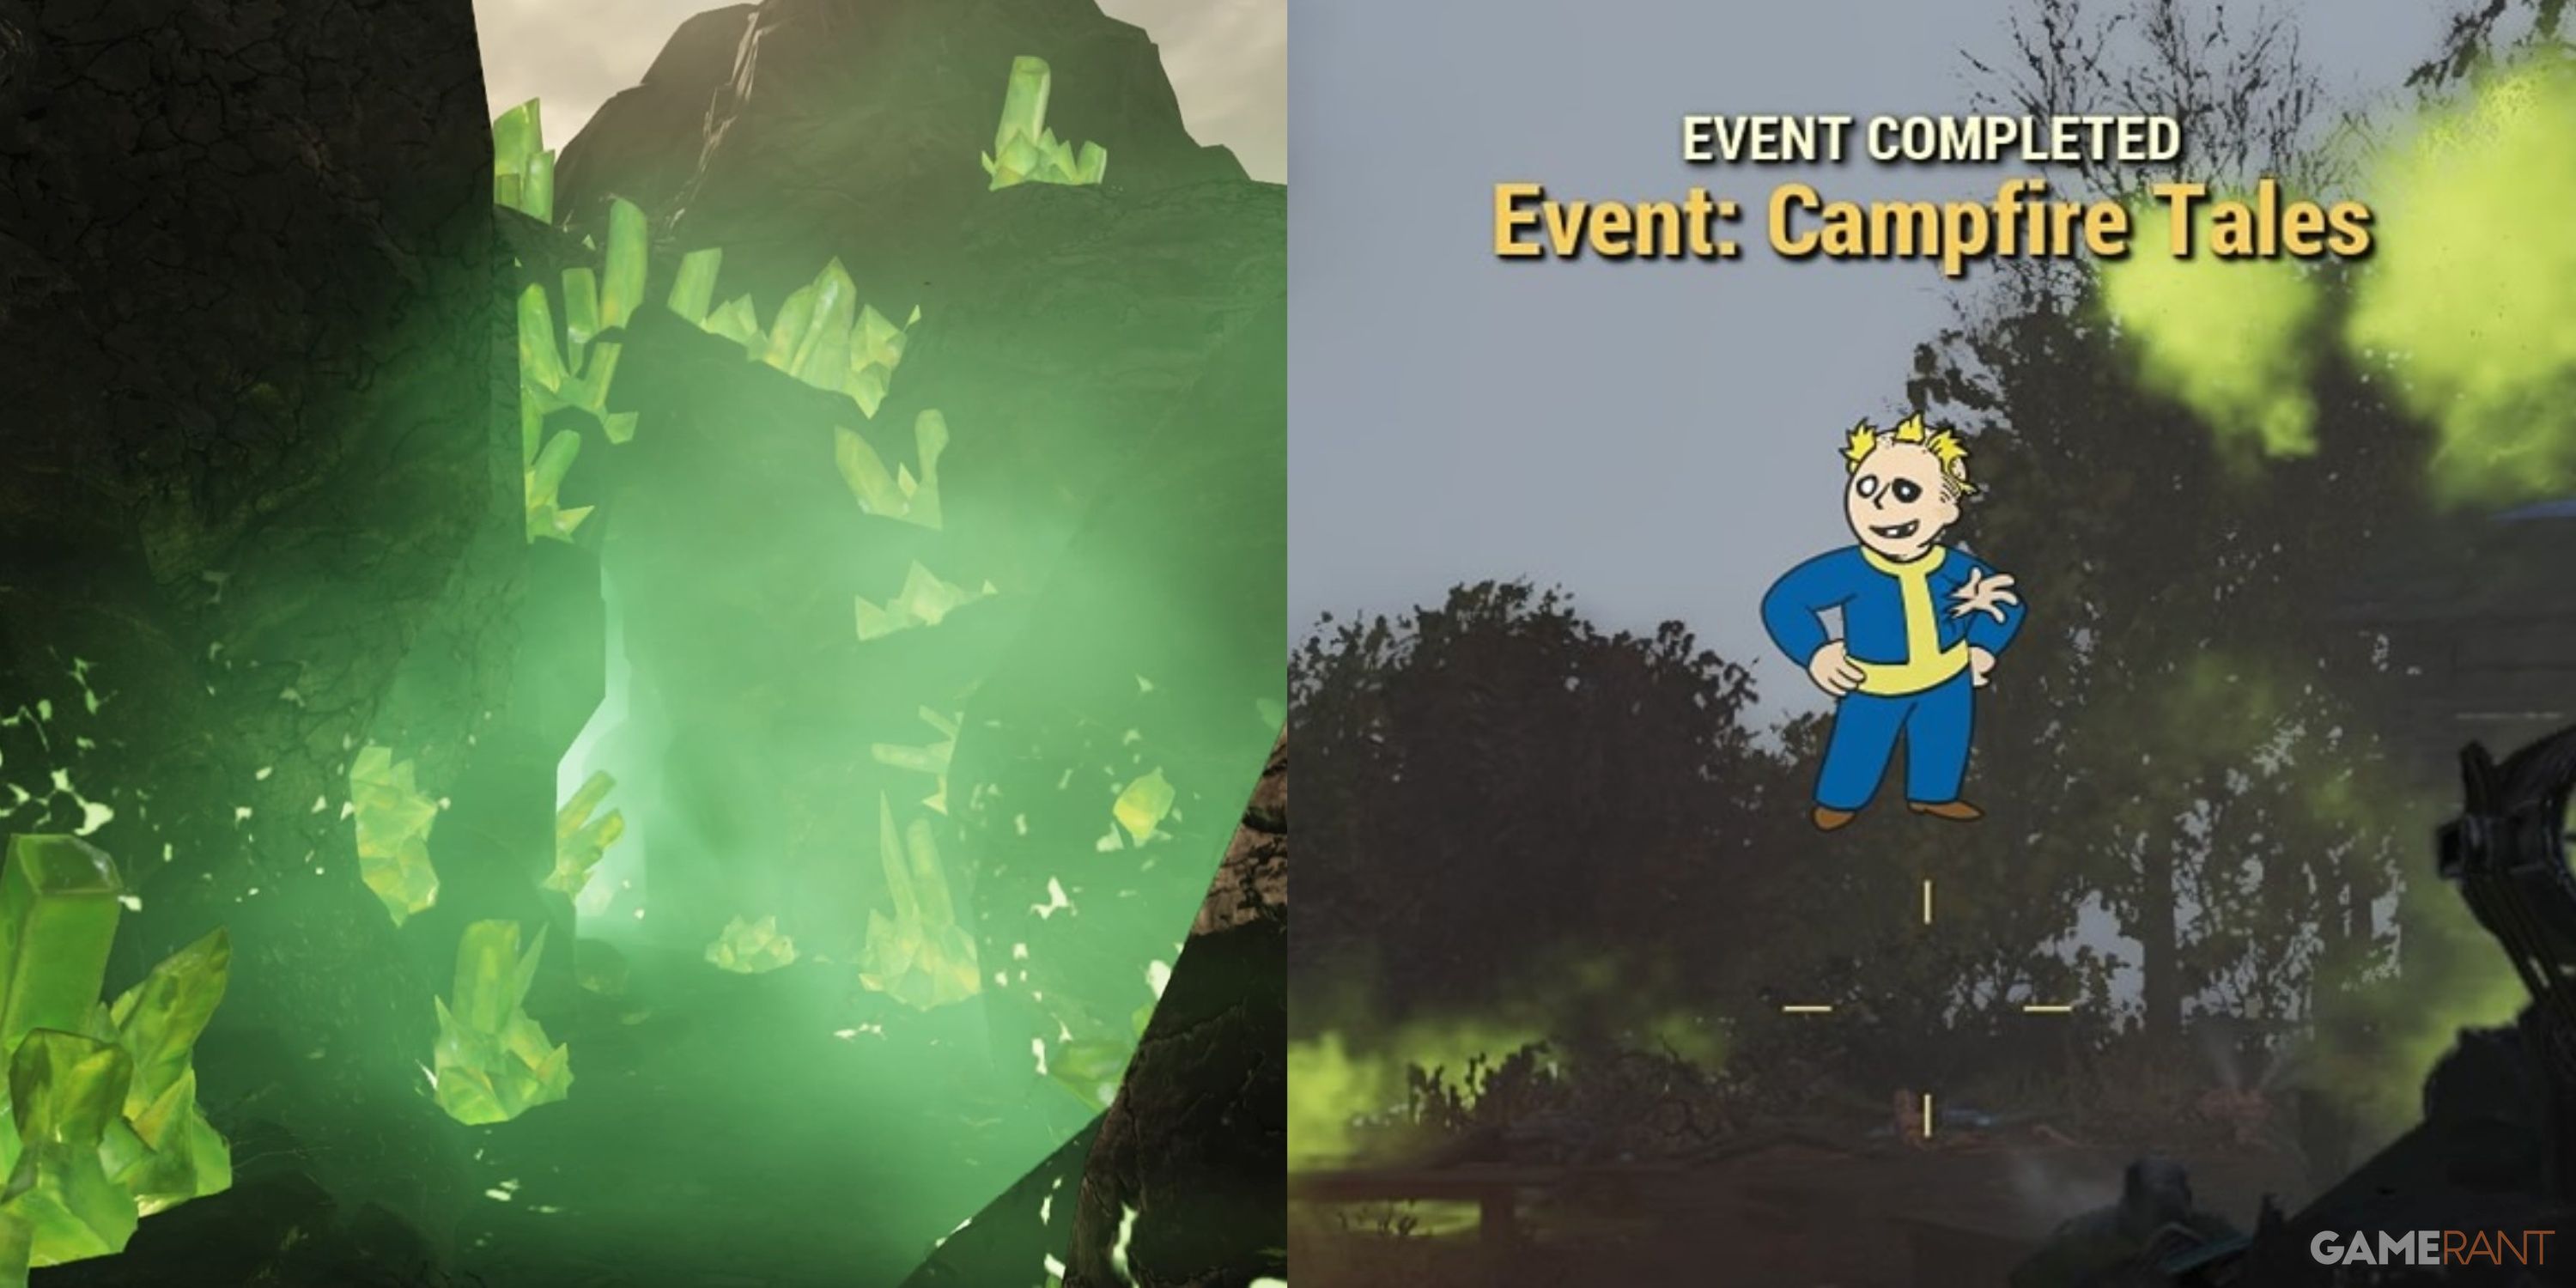
The fourth stage takes you and your team to a room full of green crystals. You will be tasked with unlocking the security lock. To achieve this, you'll need to take down the Ultragenetic Horde. One Ultragenetic Mole Miner will appear. Similar to the second phase, this Mole Miner cannot be damaged by the player's weapon. The only way to damage the Mole Miner is to shoot the green crystals. The explosion released from the crystals injures the Mole. It will also release a cloud of poisonous gas that will damage the player, so don't get too close.
Not only the Ultragenetic Mole Miner will appear, but also a lot of other ultragenetic enemies. These other enemies cannot kill the player in one shot like the Mole can. However, like the Mole Miner, you can only kill them by exploding crystals when they are nearby. There are only so many crystals in an area, so use them wisely. Try to get a large group of enemies to approach the crystal before you shoot it. If you run out of crystals, you will not be able to complete this stage.
All crystals on earth are similar in size. However, there are two very large crystals suspended above the ground. These deal a much stronger hit to all nearby enemies. Try to use it only when necessary. It's not worth wasting a large crystal on just one or two enemies.
Related
Fallout 76: 8 Best Season 19 Rewards
With Fallout 76 Season 19 in full swing along with the Gleaming Depths update, these are the best seasonal rewards players can look forward to.
Stage 5 – Kill The Ultracite Terror
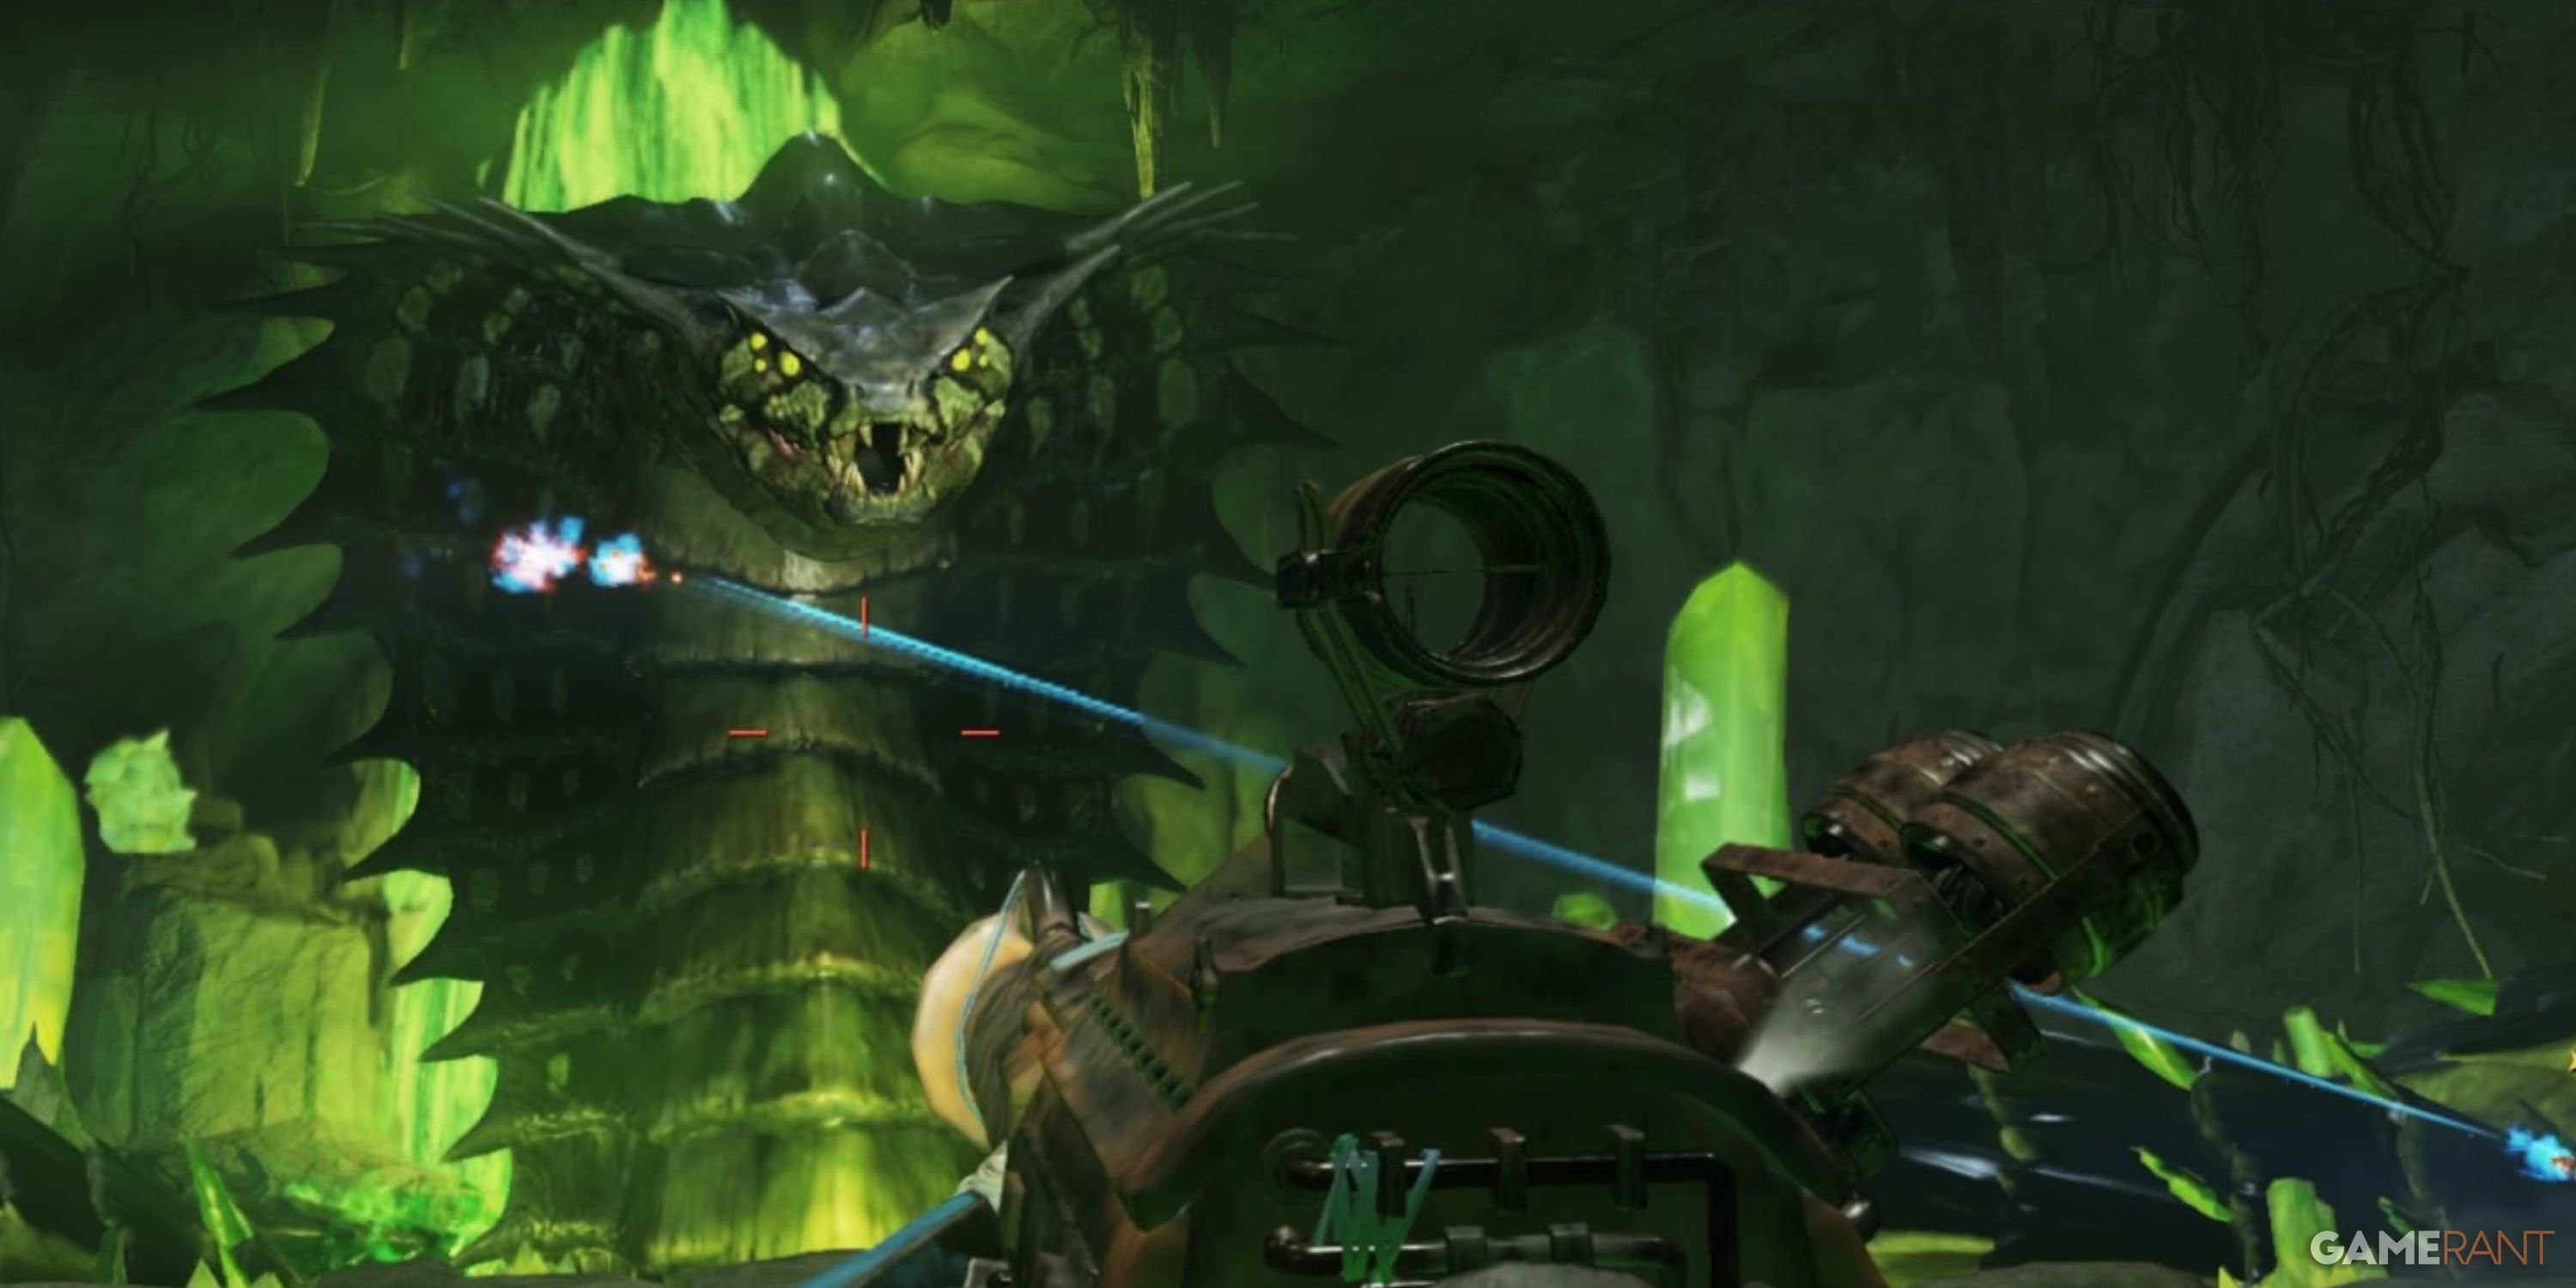
The last stage is the easiest. However, it is also incredibly difficult. You and your team will have to kill the Ultracite Terror. This huge snake-like creature is strong, fast and hard-hitting.
It has two weaknesses that you can target for extra damage; his head and eyes. His eyes are by far the most effective part to hit. There are no places to hide, so you and your team will have to work quickly to kill the Ultracite Terror before it kills you. You and your team will be trapped on a small island surrounded by a poisonous lake that will kill you instantly if you accidentally touch it. So stay on the island.
The Ultracite Terror will periodically spit and spray a toxic liquid. This is very deadly. Try to avoid this stupidity. If you can't avoid it, apply Stimpaks until you can get out of the way.
It also has a sonic attack that can stun you. Combine that with his melee attack and you'll quickly see why he's the final boss. Once you and your team get a decent chunk of Ultracite Terror's health, his tail will pop up. Once his tail comes out, you'll need to destroy him quickly. The tail breaks the island and reduces its size. Shoot the tail continuously until you deplete its health.
After you download the tail, you can go back to shooting the Ultracite Terror. Unfortunately, Ultracite Terror has more than one tail. So you'll need to watch out for his tails and destroy them as quickly as possible, all while trying to take down the Ultracite Terror's body and head. Once you've done all of this, you'll get the main rewards for completing the raid.
Rewards for completing raids
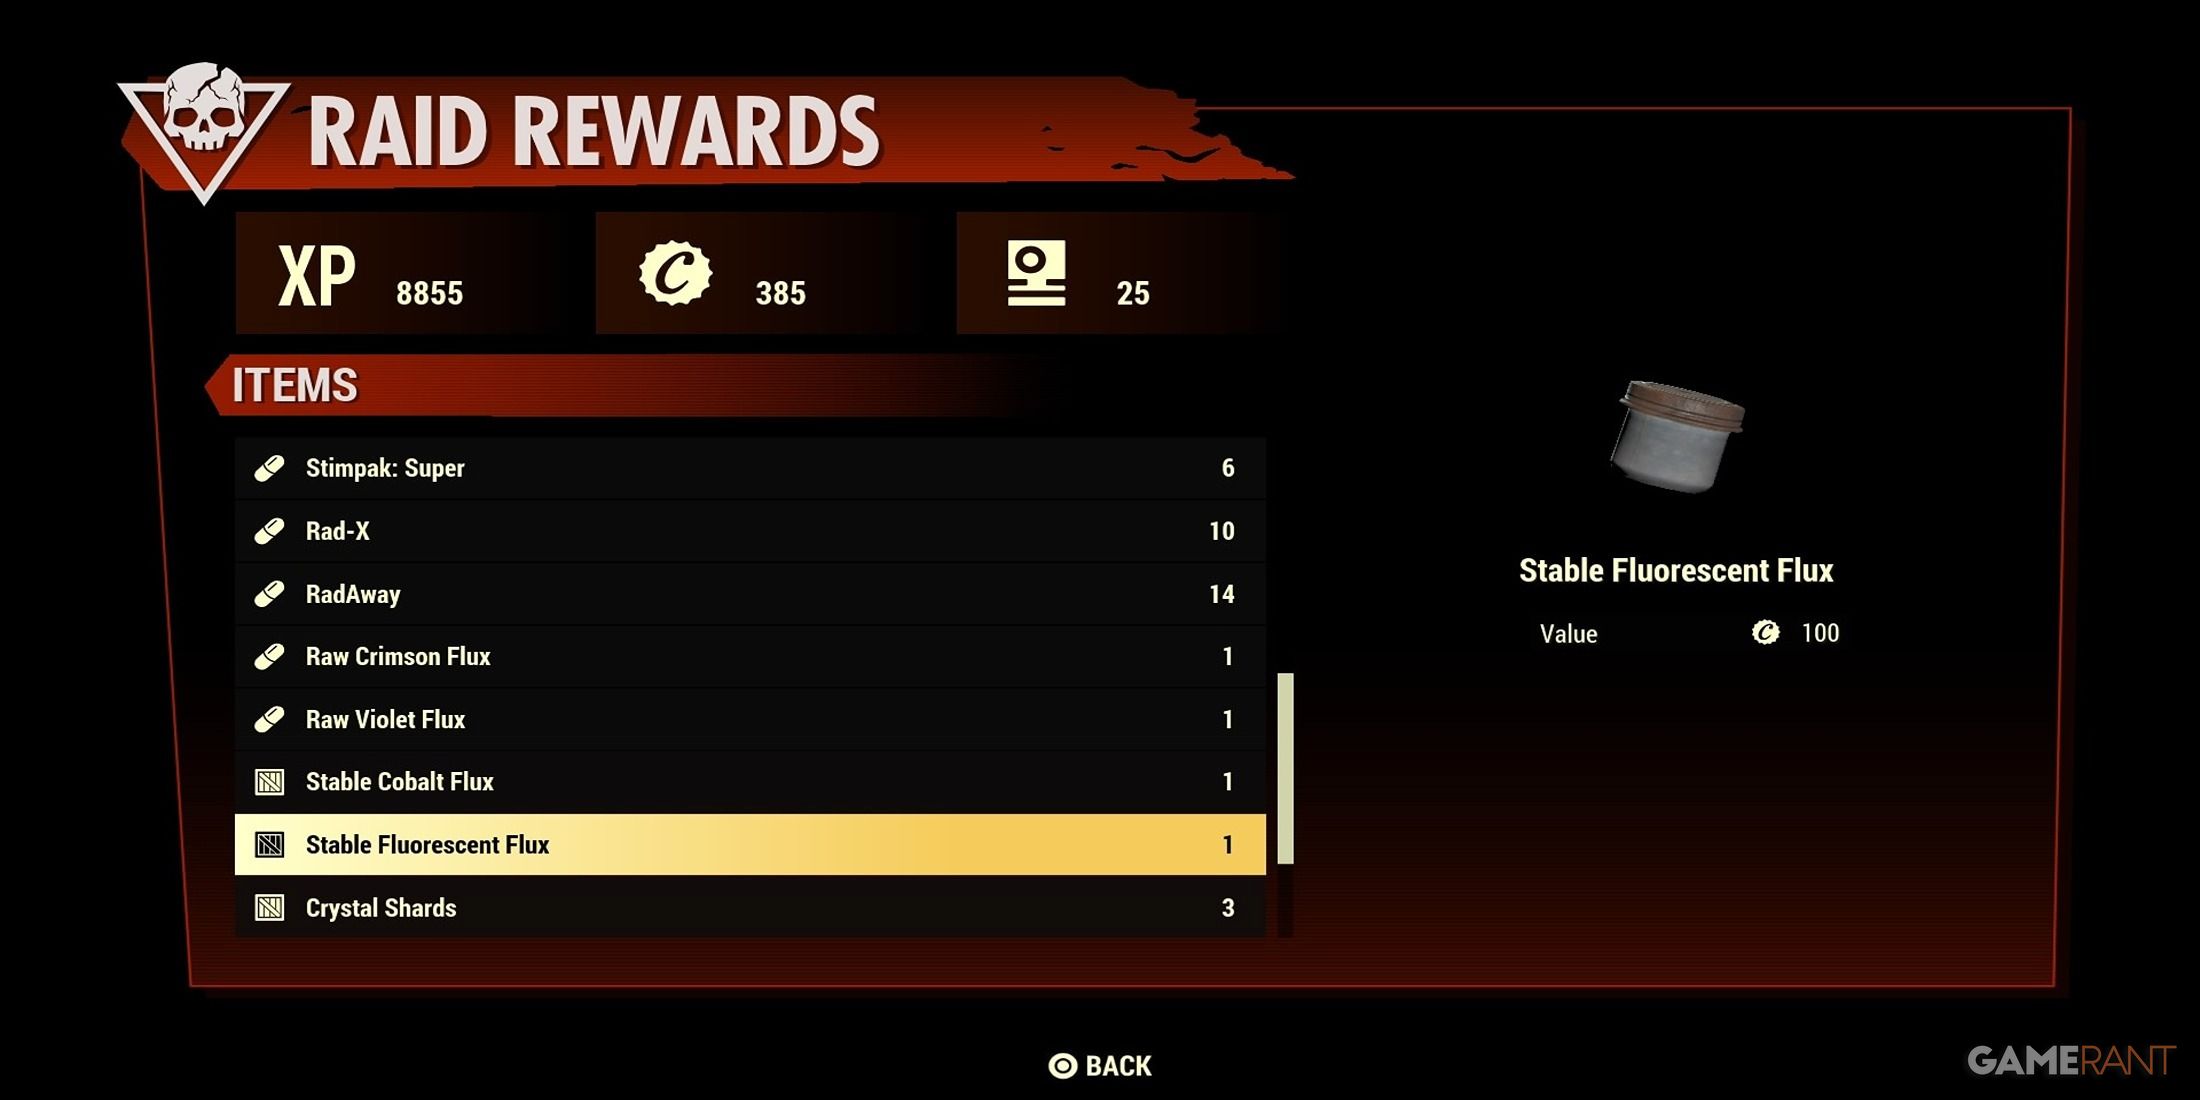
Completing a raid will give you some pretty decent rewards. While the rewards will vary, there are plenty of cool items to get. You get the standard rewards like Medicines, Junk, Scrip, Caps and Ammo. Each stage you complete gives you a chance to get a 4-star legendary item/mod, one of the new plans, and more.
You'll also get a plan to create a trophy for each part of the raid you complete. You only get this plan once. Once you learn the plan, you won't get it again.
Of the various blueprints you can get for completing parts of the raid, the new Vulcan Power Armor parts are among the most sought after. There are also new weapons, skins, backpack mods and more. Earning every possible reward in the new raid mode will require a lot of grinding.

